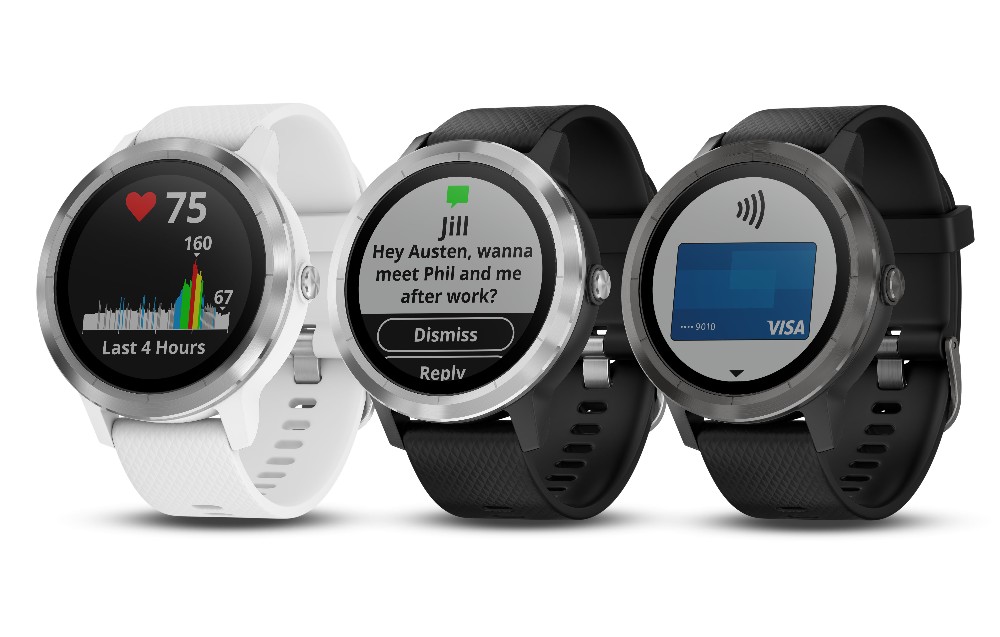
You’ll find below a list of short video tutorials on the functions and features of the Garmin Vivoactive 3. This is a low cost GPS general activity watch which includes a wrist heart rate sensor. A nice upgrade for those who had the forerunner 35. This is a small basic device packed with enough features, including Garmin Pay.
Garmin Vivoactive 3 User Manual
Click here to download the Garmin Vivoactive 3 user manual in PDF format
Garmin Vivoactive 3 Tutorial Contents
- Rebooting / Restart or Restore Default Settings
- Manage Activity Profile Favorites
- Change Data Fields When Running
- Change Controls Menu Icons
- How to Change Activity Tracking Settings
- How to Customize Widgets
- How to Start An Outdoor Activity
- How to Save and Navigate Waypoints
- How to Change Default Watch Face
- How to Change Run Settings
- How to Change System Settings
- How to Change Heart Rate Settings
Rebooting / Restart or Restore Default Settings
What to do when your vivoactive 3 freezes up or unresponsive or when you want to wipe it clean.
Here we have a method for each. Note as of Jan 2018 hard reset key sequence was not known.
Note that your data could he affected when doing either method.
HOW TO REBOOT/RESTART VIVOACTIVE 3
Simply press and hole the key for at least 15 seconds until the device shuts down or restarts.
HOW TO RESTORE DEFAULTS
Press and HOLD display to get to the menu and select SETTINGS | SYSTEM | RESTORE DEFAULTS
Manage Activity Profile Favorites
When you first use the Garmin Vivoactive 3 for the first time, you have the option to set activity favourites or a quick list of preferred activity profile.
Simple select your favorites from the list of activities, this screen only shows up on the firs time. Once done, you can press the Key and you will see your favorites at the top. To access the other activities simply tap on the four dots icon.
You can further manage your favorites by going to SETTINGS | ACTIVITIES & APPS and by choosing an activity and then ADD to FAVORTIES.
Activities like golf, yoga and other can be found by creating a new activity.
You can also remove favorites by going into the activity and selecting REMOVE FAVORITE.
Change Data Fields When Running
You can change data fields in the running profile on your Garmin Vivoactive 3.
Change Controls Menu Icons
When you press & hold the key button on your garmin vivoactive 3, you have access to shortcut app icons such as power off, music control, garmin pay, saving a waypoint, stopwach, etc…
You can customize, re-order, add and remove the icons based on your preference.
1. Press and hold the key button
2. Tap and hold the display, the device should vibrate and the icons will now have a circle around each of them
3. Tap on an icon
From here you can tap another location to move it, you can tap on the garbage can icon in themiddle to delete it.
When deleting an icon, it will be replaced by a + symbol. Tap the + and scroll through the list of app you have access it.
Swipe right to exit this menu and apply the changes.
How to Change Activity Tracking Settings
In this video we will go over the activity tracking settings on the garmin vivoactive 3.
You can view your daily activity by swiping up or down via the widgets and by default the move bar is turned on.
To access the settings, do thefollowing:
1. TAP and HOLD the screen and select SETTINGS | ACTIVTY TRACKING
From here you can do the following:
a. turn on or off activity tracking
b. turn on/off move alert
c. turn on/off goal settings
d. turn on/off auto activity start
SWIPE RIGHT to go back.
How to Customize Widgets
In this video we will look at how to customize the widgets on your garmin vivoactive 3. Widgets are the data screens or functions when you swipe up or down. There are a number of defaults widgets available and this video will show you how to customize, or re-order the loop of the widgets or screens.
I won’t go over how to download widgets from Connect IQ but you can refer to related videos on other Garmin devices, as the process is the same.
1. TAP and HOLD SCREEN to get the MENU
2. SELECT WIDGETS
3. Scroll through the list and tap a widget to view its settings.
This is where you will be able to enable or disable the widget and adjust some of the settings.
You can also rearrange or re-order the position of the widget.
4. SWIPE RIGHT to go back to the widget list.
5. SCROLL all the way to the bottom of the list and SELECT ADD WIDGET.
From here you can add a widget or downloaded widgets from the garmin connect.
How to Start An Outdoor Activity
In this video, we will look at how to start outdoor GPS tracked activities with your Garmin vivoactive 3 like running, walking, golf, bike and rowing. There are more outdoor activities, but the process is the same.
Note that outdoor activity profiles will turn on the GPS, while indoor activities won’t turn on the GPS. It’s recommended that you do a few run or walks outside to calibrate the internal sensor next time you want to do a treadmill activity for example.
1. PRESS the KEY BUTTON
2. SELECT an outdoor activity profile like RUN WALK BIKE ETC…
3. Go outside and wait for a GPS signal. You can select a workout or adjust the setting for this profile like data screens, auto lap, auto pause, alerts and other settings you can customize.
4. Once you get the GREEN RING to indicate that the GPS is ready, you can PRESS the KEY to start tracking the activity.
5. PRESS the KEY to STOP.
6. You’ll get a summary page and you can select DONE.
7. You can choose to SAVE or DISCARD the activity.
These steps will be the same for the other outdoor profiles.
How to Save and Navigate Waypoints
In this video we will go over how you can save and navigate to a waypoint or coordinates on your garmin vivoactive 3.
This would come in handy to remember your start location when going on a run, or where you parked your car, find a trailhead, and other useful ways while doing outdoor activities.
1. press and hold key button to the controls menu and TAP on the waypoint icon. Tap Save. Note that you can see the coordinates.
2. Choose and icon and tap done.
Now to navigate to your saved locations or waypoints.
3. Press the key button to get to your activity profiles and if you have set it as a favorite, select from the main activity list NAVIGATE.
4. Go to SAVED location and select a location to navigate. Tap go to to start navigating.
5. Wait for the gps and once ready you will be able to use the navigation data screens to get to your location like any other activity.
How to Change Default Watch Face
You can change the watch face on your garmin vivoactive 3 with default options or download from the garmin connect IQ store.
To access these settings, tap and hold the display and select WATCH FACE
Notice the green ring, from here you can swipe up & down to choose any of the other watch faces installed. Note that once you since via garmin connect, any watch faces from connect IQ store will appear afterwards.
You can customize or remove watch faces. Selecting ADD NEW will bring back default watch settings if you want to start fresh after customizing.
But each watch face allows you to apply it or not, customize the look or remove it from the list.
Customize a watch face allows you to adjust these features of the watch face. Simply swipe and tap to apply a change.
– Dial
– Data fields
– Watch hands
– Color Accent
Swipe all the way to the right to apply the changes to the watch face.
Swipe all the way to the left will let you discard any changes you make to a watch face.
How to Change Run Settings
How to setup your vivoactive 3 for your running training plan is pretty easy.
First hit the key button and select your running profile, I’ll assume outdoor running. While it waits for a GPS signal, you can do 2 things: select a workout that you’ve downloaded from garmin connect or adjust the settings for the profile. Once you apply change, it won’t revert until you change it.
What can you change or adjust on the settings?
– customize the data fields and screens based on your preference
– add Alerts. This is where you will go to add run/walk interval training alerts like 10 min run and 1 min walk. You can have alerts for various targets like HR, distance, time, calories, etc…
– setup the lap button or lap distance
– turn on/off auto lap. you can set the distance
-turn on/off auto pause. a very handy feature when you have a lot of lights along your route.
-turn on/off the GPS or add GLOSNASS
– change background
-change accent color
How to Change System Settings
Where to go to change time, language, units on your garmin vivoactive 3? In this video I’ll show you how you can navigate to the system settings
1. Tap and hold the display and navigate to SETTINGS | SYSTEM
From here you can adjust the following settings
*Auto lock
*Change language
*Time format and manual set
*wrist orientation
*enable/disable side swipe
*backlight timeout and brightness
*enable/disable vibrations
*enable/disable do not disturb
*Change units to & from metric
*Data recording
*usb mode
*Restore defaults
*Software Update – when paired with smartphone, it will check everytime you sync for new software. But this is where you go if you happen to delay the update for later.
*About
How to Change Heart Rate Settings
We will take a look how to access the heart rate montior settings on the garmin vivoactive 3 where you can turn on/off the wrist HR and add a strap HS monitor.
Depending where you live where winter running requires a jacket, you tend to put the garmin gps watch over the jacket, so wrist HR can’t go through the layers. In order to do winter running with the vivoactive 3, you can add an additional heart rate sensor. Any ANT+ garmin heart rate monitor will work.
HOW TO ACCESS THE SETTINGS
1. tap on display to get to the menu, then SETTINGS | SENSORS & ACCESSORIES | HR SETTINGS. From here you can turn on the wrist HR on/off
HOW TO ADD A STRAP HR MONITOR
1. tap on display to get to the menu, then SETTINGS | SENSORS & ACCESSORIES | ADD NEW
Select HEART RATE and pair the HR strap. It works best when you are wearing the strap.
Original Photos