

Estimated reading time: 3 minutes
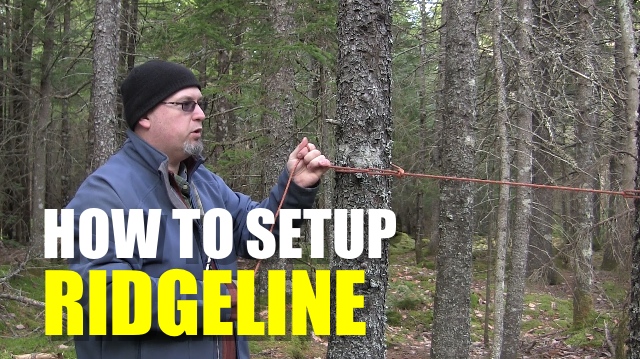
I’ll go over my method to setup a ridgeline to hang a tarp for shelter or hammock camping. If you have a different method, rope or knots, put them down in the comments. There are a lot of videos out there, but I found that this method works best for me.

My equipment is 4mm & 2mm climbing rope. I like these since stretch is negligible, cheap, packs easy & strong.
Step one: Find two trees. Depending on your needs (emergency shelter or car camping tarp), you might be looking for a pair of trees 4-30 feet wide. Also lookout for and dead branches or other hazards above and below.
Step two: is to setup a loop at one end of the 4mm rope, this will loop around your first tree. You can use a slipknot or bowline
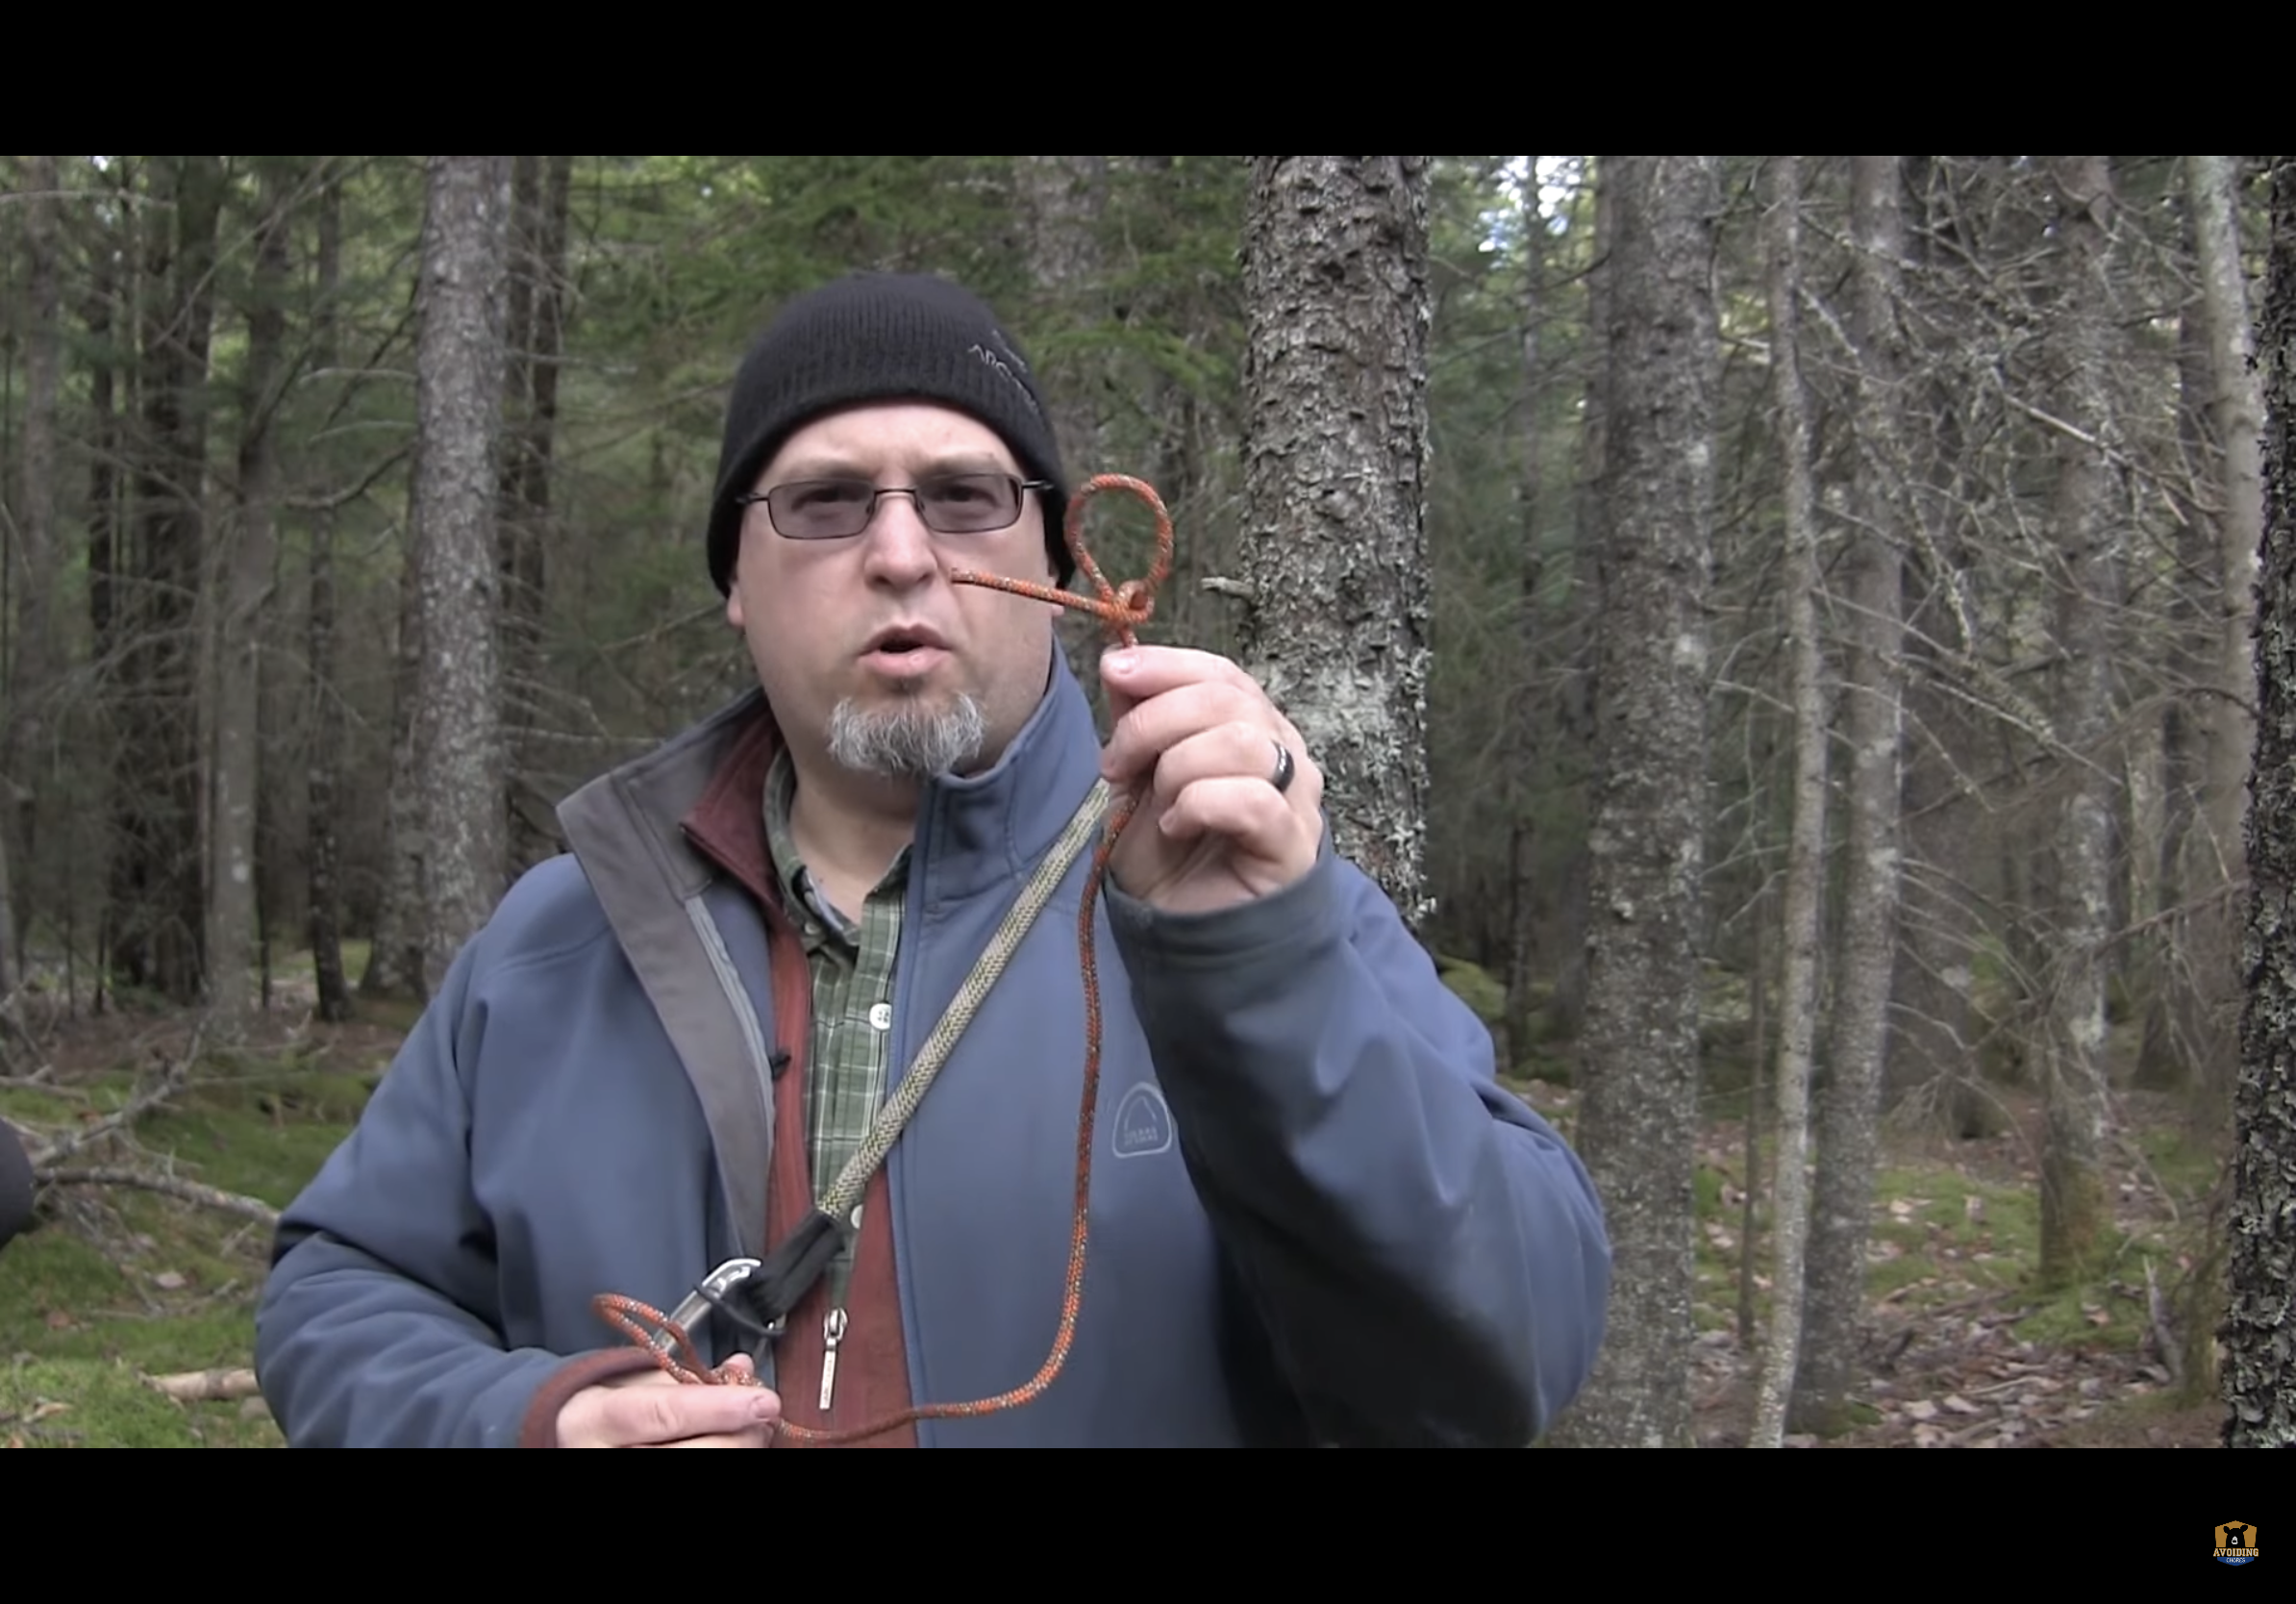
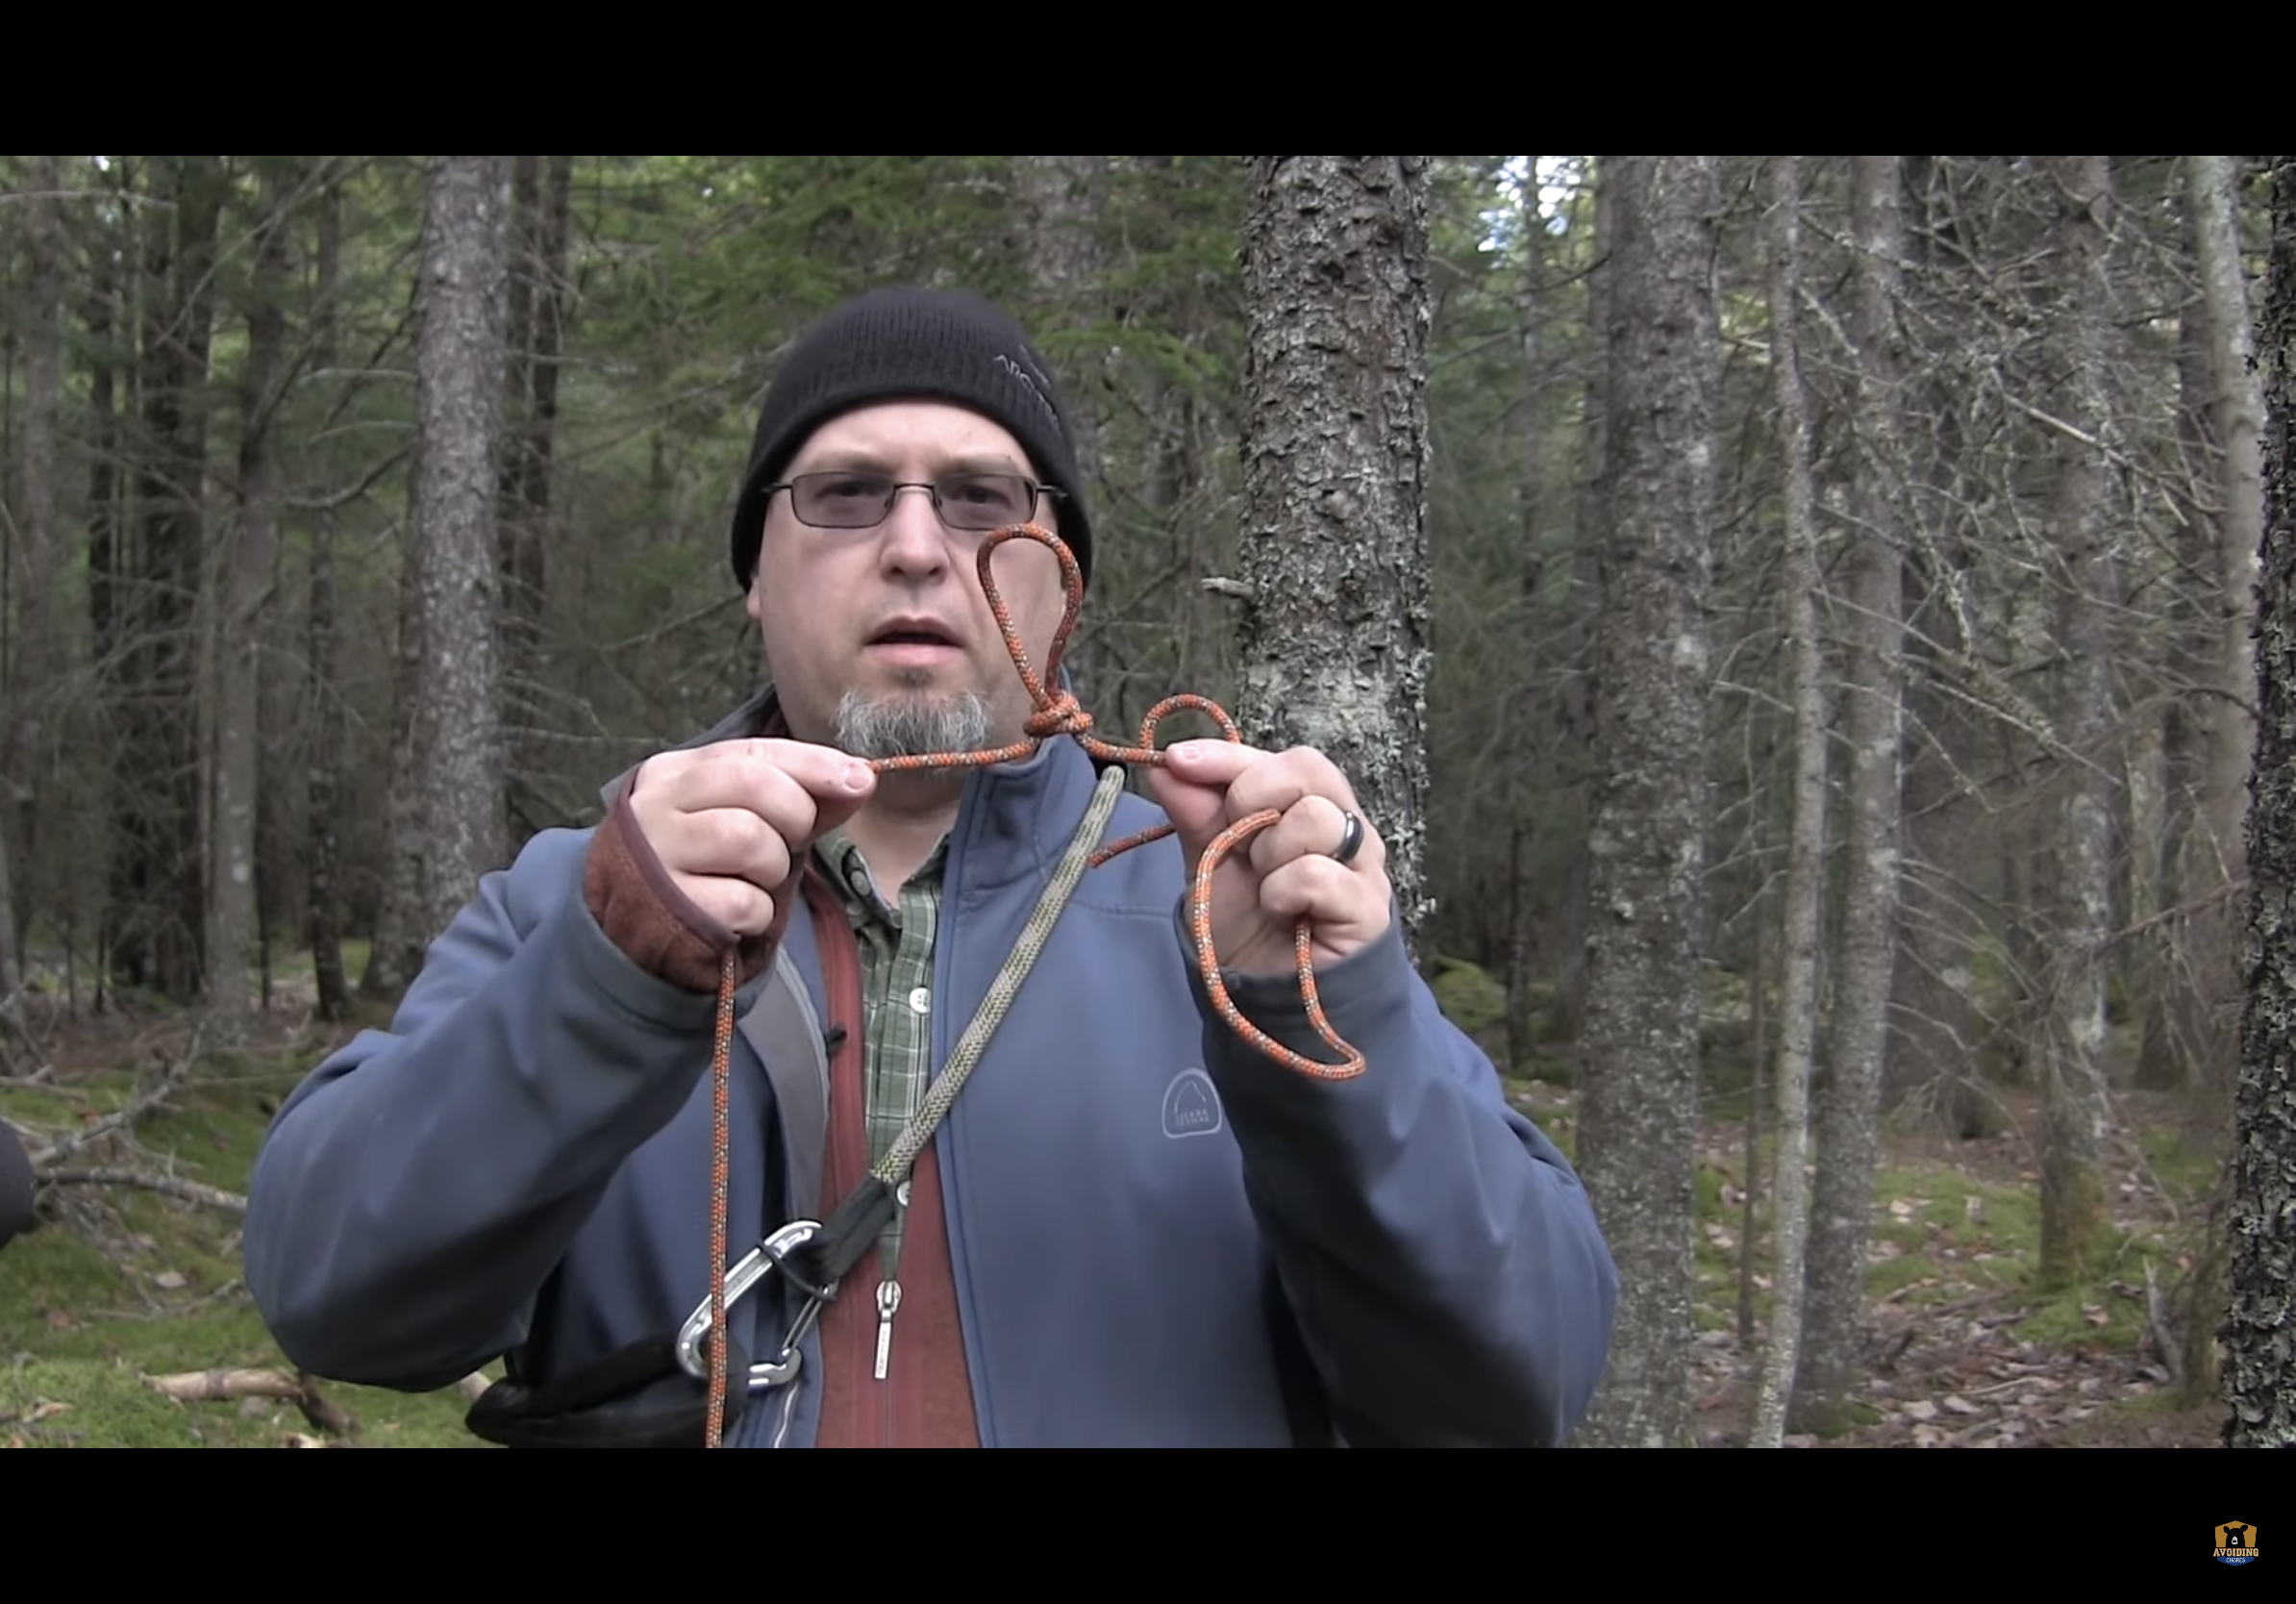
Step three: at some point along the length of the 4mm rope, tie off either a butterfly or truckers hitch knot. This loop will act as a pulley to tension the rope nice and tight.
Step four: Simply wrap the rope around the second tree a few times & tie off any way you like. You can pinch and secure the line using half hitch and any finishing knot of your choice.

Now that we have the ridgeline setup, now we can use the 2mm rope to anchor our tarp along the ridgeline. I used to use clips for this, but again simple knots does the job.
Step five: Use the 2mm rope and tie off prusik knots along your ridgeline. Adust to the width of your tarp.

Step six: attach tarp and tie off using square knot, tension prusik knot to tension the tarp tight. Now you can finish setting up the tarp and adjust along the ridgeline based on your preference.