
The Garmin inReach Mini 3 is the kind of device that should be boring by the time it goes into your pack. The screen should be familiar, the account should be active, the phone app should already be paired, and your first test message should already be sent before you are standing at a trailhead with poor cell service.
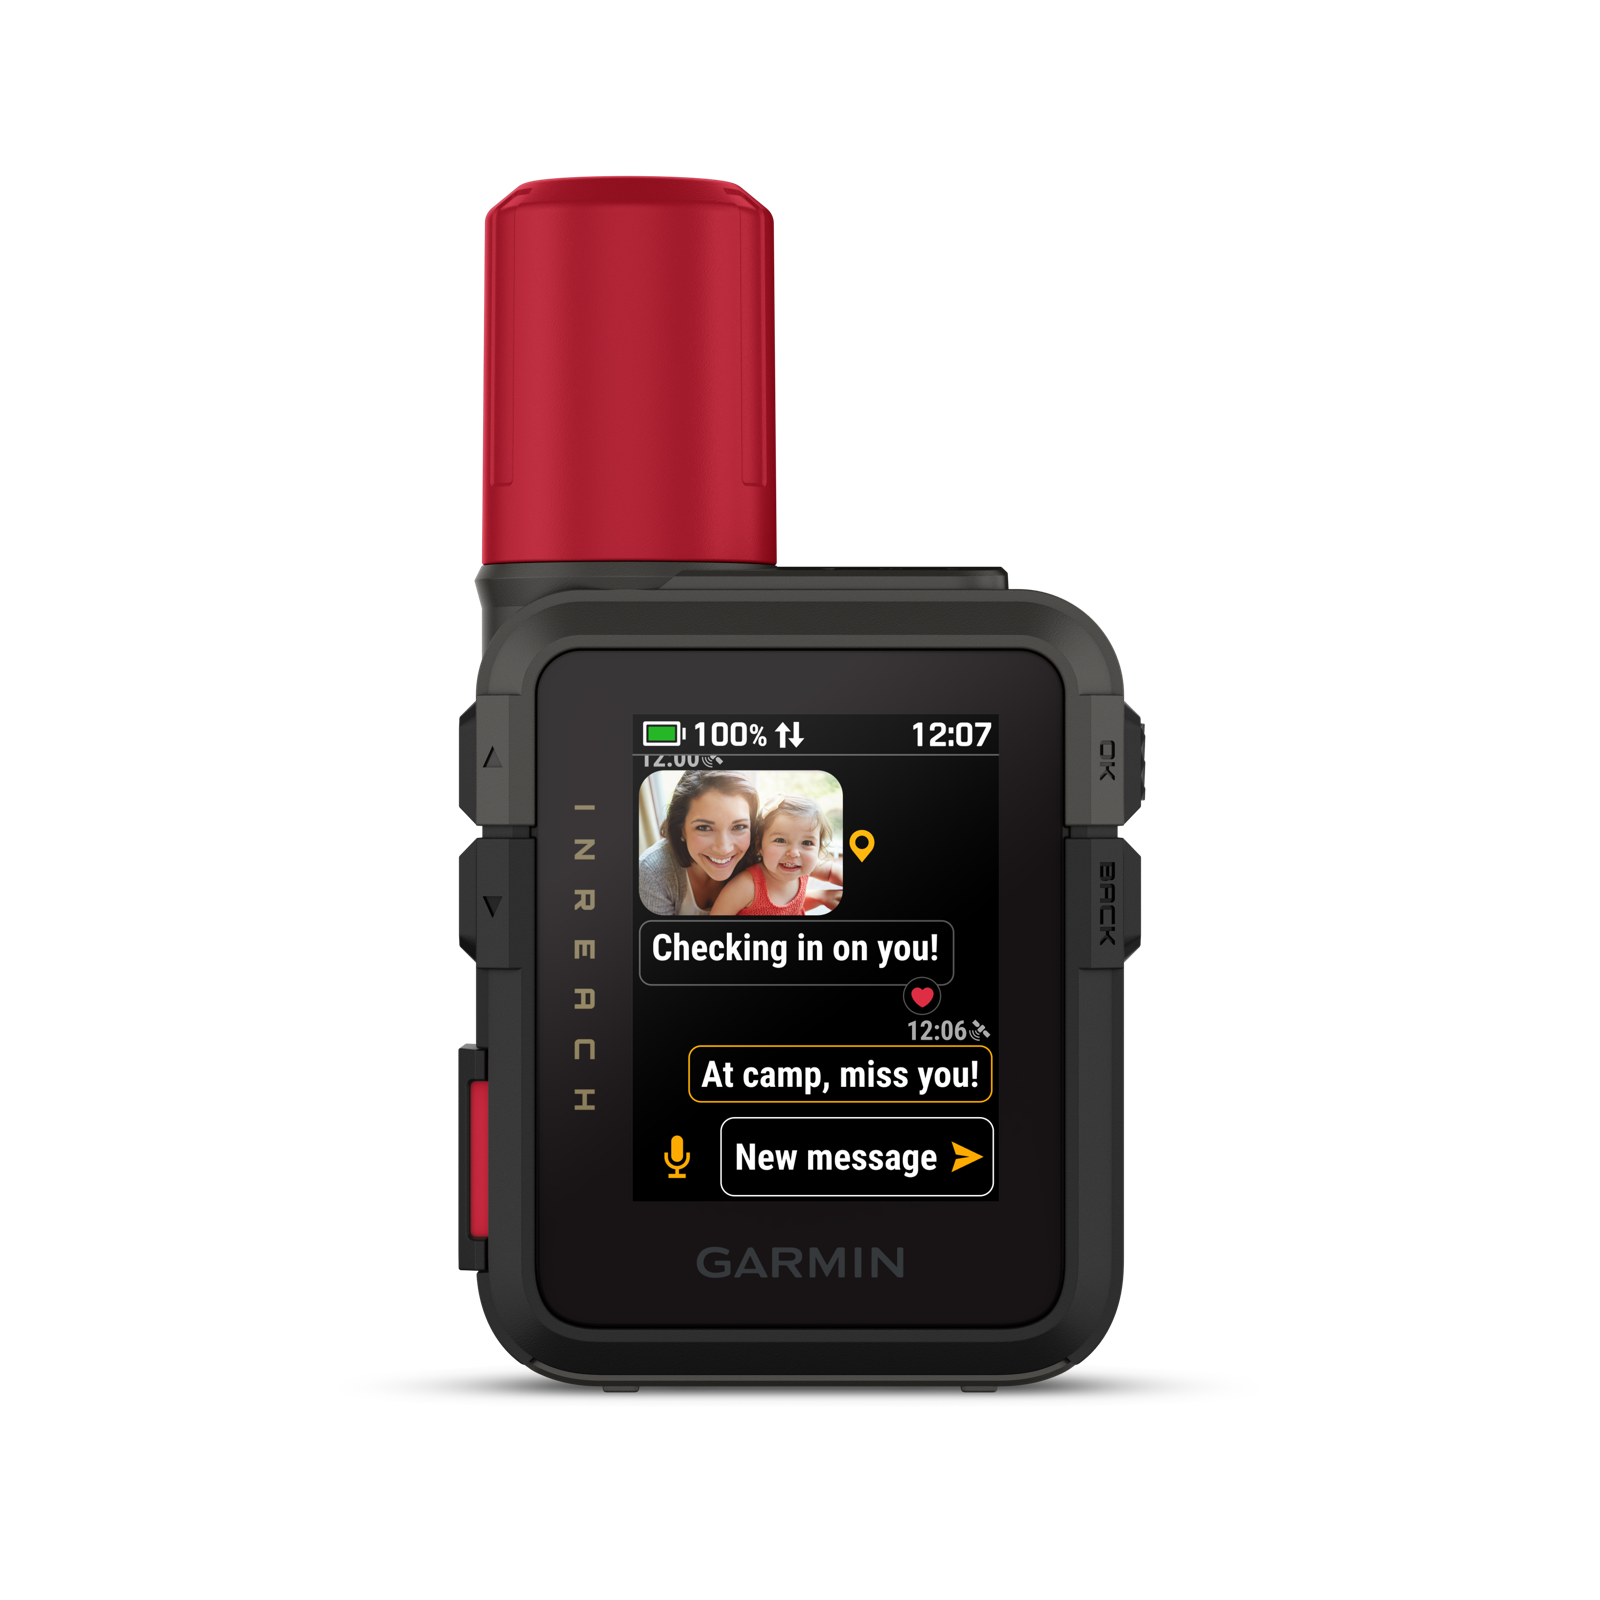
This guide is written for Canadian hikers, campers, ATV riders and backroad travellers who want a practical pre-trip setup process for the Garmin inReach Mini 3 or inReach Mini 3 Plus.
Affiliate disclosure: Some product links in this article may be affiliate links. If you buy through those links, Avoiding Chores may earn a commission at no extra cost to you.
Last reviewed: August 3, 2026. Garmin app screens, subscription plans, message allotments and availability can change. Check Garmin's current support pages and subscription page before relying on plan details.
Quick Setup Checklist
- Charge the inReach Mini 3.
- Turn it on and complete the first-start language and activation prompts.
- Install the Garmin Messenger app on your phone.
- Pair the device with Garmin Messenger.
- Activate an inReach satellite subscription.
- Install Garmin Explore if you want route, waypoint and trip-planning features.
- Sync the device after activation and account changes.
- Add or review contacts and emergency contact information.
- Send a test message outdoors with a clear view of the sky.
- Review the SOS button and cancellation process before the trip.
- Pack the device where it has a better chance of seeing the sky.
Mini 3 Or Mini 3 Plus?
Garmin's current owner manual covers both the inReach Mini 3 and inReach Mini 3 Plus. The basic setup process is similar: activate the device, pair it with Garmin Messenger, confirm the subscription, sync the device and test it outdoors.
The important distinction is photo and voice messaging. Garmin lists photo and voice messaging as a Mini 3 Plus feature, while the regular inReach Mini 3 is focused on SOS, two-way text messaging and the compact touchscreen format. If you are writing this for a specific unit, confirm the exact model name on the box, device settings or Garmin account before publication.
If you are comparing Garmin satellite communicators before buying, also compare the Garmin inReach Messenger. It is a different device from the Garmin Messenger phone app, so check the current Garmin specs and choose based on how you actually plan to carry and use it.
Before You Start
Do this setup at home, not in the parking lot at the trailhead. You need time, internet access, your phone, your Garmin account and a payment method for the satellite subscription.
You will need:
- Garmin inReach Mini 3 or inReach Mini 3 Plus
- Compatible phone
- Garmin Messenger app
- Garmin Explore app, if you want planning, routes, waypoints and data backup
- Garmin account
- Active inReach satellite subscription
- Valid mobile phone number that can receive a text message
- Outdoor space with a clear view of the sky for the test message
Garmin says inReach features such as messaging, SOS, tracking and inReach Weather require an active satellite subscription. Garmin also warns that some jurisdictions regulate or prohibit satellite communication devices, so travellers should check the rules for the places they plan to visit.
For most Canadian hiking and ATV trips, the practical issue is simpler: do not assume cell coverage will be available. Treat the inReach as a satellite device that needs its own active plan, a clear view of the sky and a completed setup before the trip starts.
Step 1: Charge The Device
Start with a full charge. The inReach Mini 3 series uses a built-in rechargeable lithium-ion battery. Garmin lists the Mini 3 and Mini 3 Plus battery capacity as 1800 mAh, and Garmin support notes that the battery is not user replaceable.
For a day hike, a full charge is usually the simple answer. For a weekend camping trip, ATV trip or cold-weather outing, bring a USB battery pack and the correct cable. Cold weather, frequent tracking, heavy messaging and poor satellite visibility can all make a device work harder.
Step 2: Turn It On And Begin Activation
Press the power button and follow the on-screen instructions. Garmin's getting started sequence starts with language selection, then activation.
Do not skip through the setup quickly just to get to the home screen. The activation and pairing process is what enables the important inReach features. If the device was already powered up previously and activation was skipped, use the activation option on the device to restart that process.
Step 3: Pair With Garmin Messenger
Install Garmin Messenger on your phone and pair it with the inReach Mini 3. Garmin describes the Messenger app as the main app for composing and sending messages using your phone, syncing inReach data and using connected inReach features with the paired device.
The app can use an internet connection when your phone has Wi-Fi or cellular data. Outside coverage, the paired inReach device uses the satellite network when you have an active inReach service plan. That matters in Canada because many trailheads, forestry roads, coastal pockets and ATV routes can have unreliable mobile coverage even when they are not far from a community.
Garmin notes that Garmin Messenger's inReach features, including SOS, tracking and inReach Weather, are not available without a connected inReach device and an active inReach service plan.
Step 4: Activate A Satellite Subscription
Follow the activation prompts and choose the subscription that matches how you travel.
Garmin's current consumer plan structure includes Enabled, Essential, Standard and Premium plan levels. Garmin says satellite features such as SOS, two-way messaging, live tracking and weather forecasts require a service plan, and that current consumer plans are month-to-month with a 30-day commitment.
For this article, avoid building the whole guide around exact monthly pricing. Prices, message allotments, suspension rules and overage charges can change. Link readers to Garmin's current Canadian inReach consumer plans page and Garmin's support pages instead.
The useful decision point for readers is usage:
- Occasional hiking with emergency backup and limited messaging: compare the lower tiers carefully.
- Regular ATV trips, remote travel, tracking or more back-and-forth texting: compare the included message and tracking allowances.
- Mini 3 Plus users wanting photo or voice messaging: confirm which plans include enough photo and voice messages for the way they expect to use the device.
Step 5: Install Garmin Explore For Planning
Garmin Messenger handles messaging and device communication, but Garmin Explore is still useful for planning and managing outdoor data. Garmin's getting started sequence recommends downloading Garmin Explore and logging in with the same account used to activate the service plan.
Use Garmin Explore when you want to prepare routes, waypoints or trip information before heading out. This is especially useful if you already use Garmin handheld GPS units, Garmin watches or GPX files in your planning workflow.
For a simple hike, do not overcomplicate it. The first goal is to make sure messaging and SOS are working. Once that is done, add route planning and saved locations.
Step 6: Sync The Device
After activation, pairing, contact changes, message changes or route planning, sync the inReach. Syncing is the step that makes sure the device has the current account data and settings.
This is easy to forget because the phone app may look ready before the device has everything it needs. Build the habit now: change settings, sync, then test.
Step 7: Review Contacts And Emergency Information
Before a trip, check the people connected to your device and account:
- Emergency contacts in your Garmin account
- Regular messaging contacts
- Family or friend who expects an "I'm OK" message
- The person who knows your trip plan
- Any contact who should not be surprised by an inReach message
Do not use a satellite communicator contact list as a substitute for a trip plan. For Canadian hikes, the better approach is to leave a simple plan with someone you trust: where you are going, where you parked, who is with you, what route you expect to follow and when they should take action if they have not heard from you.
For a deeper checklist, link readers to the Avoiding Chores guide on preparing satellite communicator contacts before a trip.
Step 8: Send A Test Message Outdoors
Garmin says to test the satellite communicator outdoors before using it on a trip. Do that from a place with a clear view of the sky.
A good test is simple:
- Tell your contact you are sending a test.
- Go outside with the inReach.
- Send a short message from the device or Garmin Messenger.
- Wait for the reply.
- Confirm that the message, sender name and location information make sense.
Do not count a message test over Wi-Fi or cellular data as your full trail test. If the goal is satellite communication, test the device in a way that proves the satellite side of the setup is working.
Step 9: Understand SOS Before You Need It
Review the SOS process before carrying the inReach into the field. Garmin's manual says the SOS button is under a protective cap. Initiating SOS contacts Garmin Response and starts an emergency response process with your location. Garmin also says SOS should only be used in a real emergency.
The practical point is that SOS is interactive. If you can respond, you should. Garmin's manual says your reply helps Garmin Response understand that you can communicate during the rescue, though Garmin indicates rescue response will still be initiated if you do not reply.
Make sure you understand:
- Where the SOS button is
- How long to hold it
- What the countdown looks like
- How to cancel an accidental SOS
- How to keep communicating after SOS is started
- Why the device needs battery power and sky view
This is not something to learn under stress.
Step 10: Carry It So It Can Work
An inReach needs access to satellites. If it is buried deep in a pack, under wet gear, inside a vehicle cab or pressed against your body under layers, it may not work as well as it could.
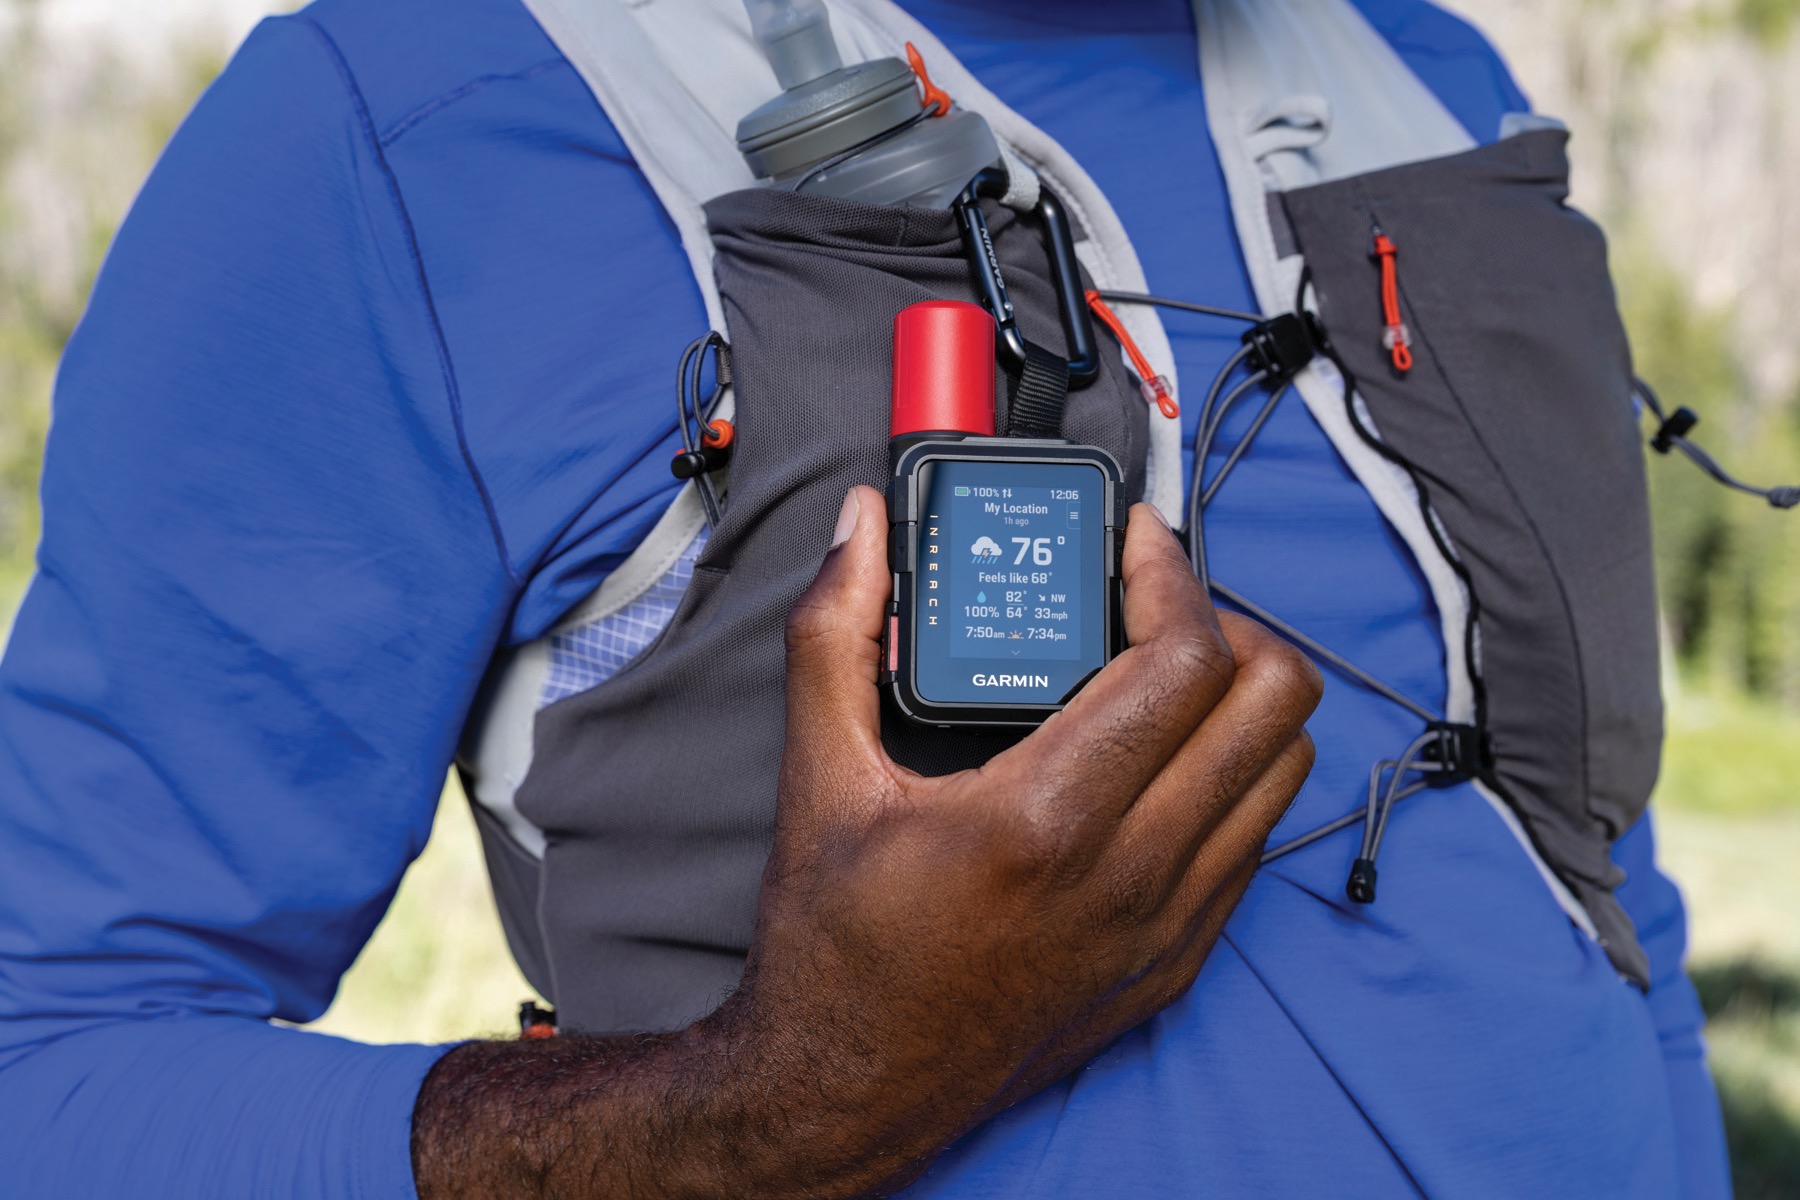
For hiking, carry it high on the pack, on a shoulder strap or somewhere it can get a better view of the sky. For ATV and backroad travel, keep it reachable and do not leave it in a place where it becomes useless after a rollover, water crossing problem or separated-from-vehicle situation.
If you are travelling in Atlantic Canada, think about the terrain: wooded valleys, coastal fog, steep cuts, wet weather and poor cell pockets are common enough that the device should be ready before you need it.
Common Setup Mistakes
| Problem | Likely Cause | What To Try |
|---|---|---|
| Device looks set up but messages do not work | Subscription or activation not complete | Confirm the Garmin account, service plan and device sync |
| Phone app works at home but not on trail | App was using phone internet instead of satellite | Test outdoors with the inReach connected and active |
| Contact does not recognize the message | Contact was not warned before the test | Tell test contacts what to expect before sending |
| Tracking costs more than expected | Plan does not include the expected tracking use | Check current Garmin plan details before enabling tracking |
| SOS confidence is low | User has not reviewed the SOS workflow | Read Garmin's SOS instructions before the trip |
| Messages are slow or unreliable | Poor sky view or device placement | Move to a clearer area and keep the antenna oriented toward open sky |
Suggested Pre-Trip Routine
Use this as the short version before each hike or ATV ride:
- Charge the inReach.
- Open Garmin Messenger and confirm the phone pairs.
- Check subscription status.
- Sync the device.
- Confirm contacts.
- Send a test message if this is a new device, new plan, new phone or first trip of the season.
- Review the trip plan with someone at home.
- Carry the device where it can be reached and has the best practical sky view.
Related Avoiding Chores Guides
- How To Prepare Satellite Communicator Contacts Before A Trip
- Garmin inReach vs ZOLEO For Canadian Outdoor Users
- Garmin inReach vs ZOLEO Plans: Which Subscription Is Better For Your Trip?
- How To Prepare Your GPS For A Hike
- Garmin Maps: Paid vs Free
- What To Pack For A Remote ATV Ride In Atlantic Canada
Current References
- Garmin owner manual: Getting Started
- Garmin owner manual: Pairing Your Phone and Activating the Device
- Garmin owner manual: Garmin Messenger App
- Garmin owner manual: SOS
- Garmin Canada: inReach Consumer Plans