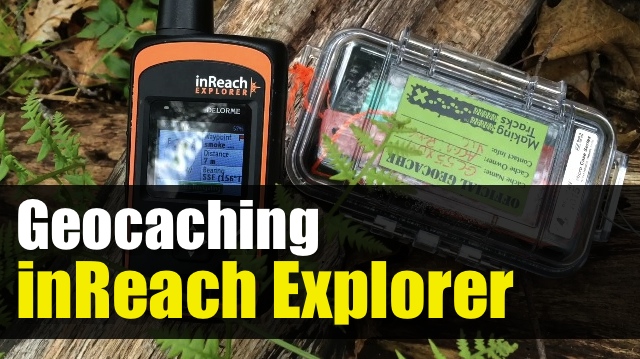
In this video, we’ll show you how to load geocache waypoints on your Delorme inReach Explorer.
Now we can enter manually waypoint information, but we want to load up multiple geocaches into our device. To help us do that, we need to create a GPX file that will contain these multiple geocaches or waypoints.
There are two ways you can create the GPX from; geocaching.com or manually.
Going via the geocaching.com route will mean to upgrade to a premium account. This will allow you to access the pocket queries function and that will generate the GPX with the geocaches that you specify.
The other method is to use other waypoint manager programs like Garmin Basecamp to generate the GPX file.
Once we have a GPX file, we need to login into the Delorme inReach portal and go to our MAP tab. This is our private map area.
We click on the IMPORT button and select the GPX file we created from the interface. After the import process, you should see the geocaches listed as waypoints on our map page.
We can edit each one to change the icon from the default flag to a treasure chest to represent a geocache. Note that we are limited to the most basic information for the waypoint.
Once we are done, we need to SYNC our inReach by using the inReach SYNC application. This should be already installed as it was part of your device activation process.
Now back to our device, we can sort waypoints by name, distance, date & symbol.
Now we can navigate using the map or compass screen on our device.