Tag: hiking
-

Garmin Trails and Garmin Explore: How to Plan Your Next Adventure with Outdoor Maps+
Updated: August 2025 Garmin has taken another big step toward making outdoor trip planning easier and more connected. With the launch of Garmin Trails in May 2025, hikers, backpackers, and outdoor enthusiasts can now discover curated, vetted routes directly within Garmin’s ecosystem — and seamlessly integrate them into the Garmin Explore app for offline navigation.…
-
How To Use Your Apple Watch And Gaia GPS For Hiking
In this video, I’ll show you how to use the Gaia GPS Apple Watch app to record a hike or outdoor activity. First thing you’ll need to do is to download the GAIA GPS smartphone app on your iPhone and the watch app should automatically download onto your Apple Watch. If it doesn’t simply go…
-
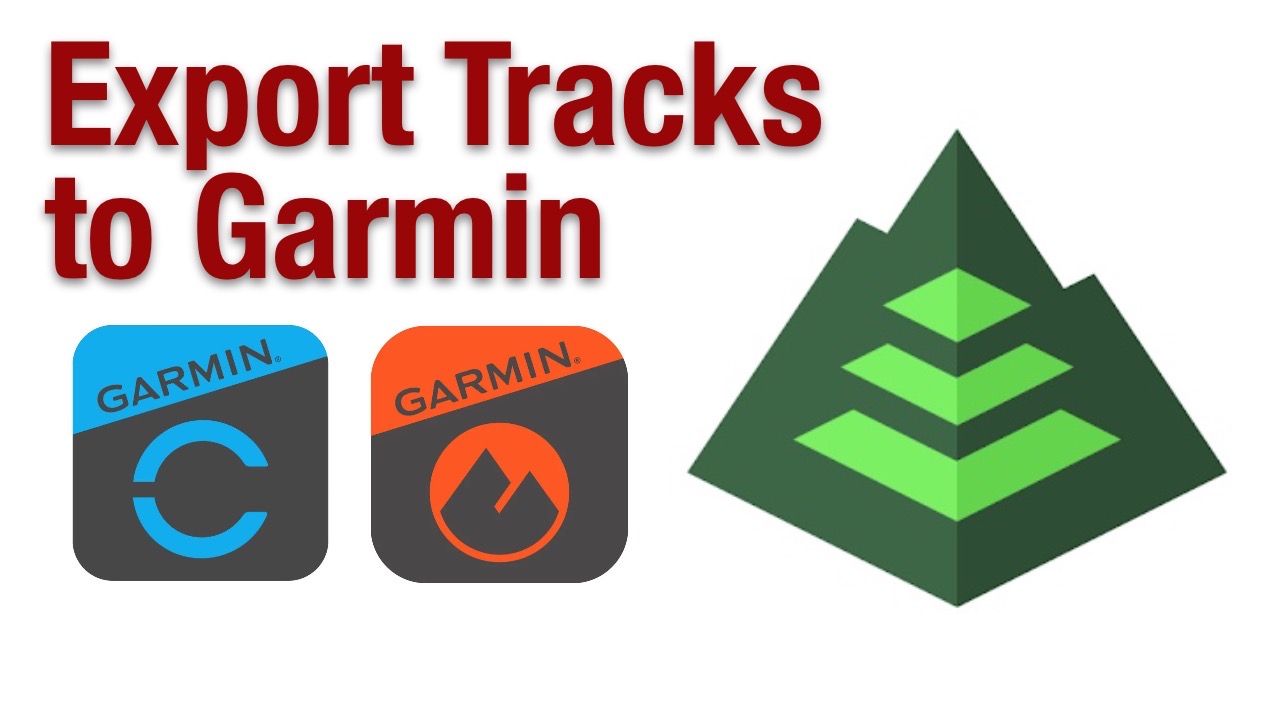
How To Export Gaia GPS Tracks to Garmin
In this video, I’ll show you how you can export a track saved in Gaia GPS and import it to Garmin Connect or Garmin Explore. Here I’m using iOS so this will work on iPhone and IPad, but will also work in Android and on your desktop. Here I’ve recorded a hike using the Gaia…
-
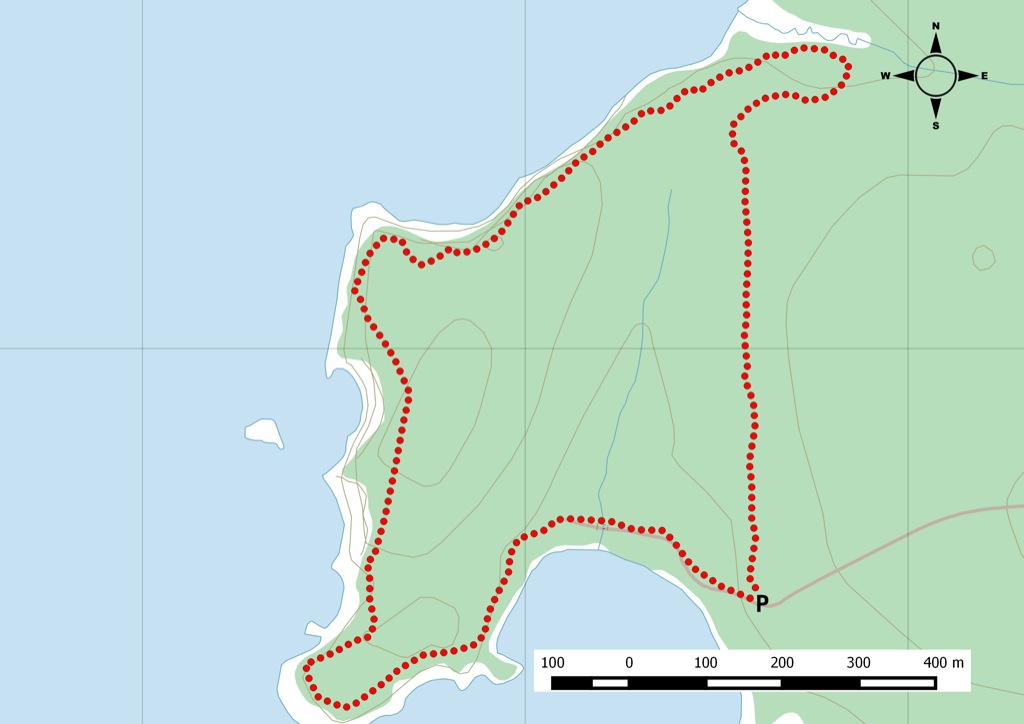
Thomas’ Cove Coastal Preserve
From the Nova Scotia Hiking Trail Guide Guide category: Water Trails Length: 7 km (return) Difficulty: 2C Duration: 2.5 hours Book trailhead: N45 21.770 W63 54.925 TrailheadParking Two trails that offer great views of Five Islands and the Minas Basin. Thomas Cove Coastal Reserve is a coastal trail that looks out over Five Islands Provincial…
-
Planning An Urban Hike With Gaia GPS
A great smartphone app for outdoor recreation is Gaia GPS, I tend to use it to record my hiking activities around the urban core or use the downloaded maps when in the backcountry. In this video, I’ll show you some use cases where you can use Gaia GPS with your smartphone while out hiking. Gaia…
-
30 Minute Hike – Rogers Brook & Grafton Woods – Kejimkujik Nova Scotia
I hike along two trails within Kejimkujik National Park in the fall – my favourite time of the year to come and explore. Today we do the short Rogers Brook trail. This is a nice relaxing walk along the Mersey river and the wetlands before the jakes landing. The other trail is just beyond the…
-
30 Minute Hike – Coastal Hike Along Clam Harbour – Nova Scotia
It’s November and no better time to hit the beach and hike along rugged Atlantic Ocean coastline in Clam Harbour Provincial Park. Park up to the gate (if it’s closed) and simply walk in as parking lots are not maintained in the winter but the road up to the gate are maintained. Start by walking…
-
Clothing Layers For The Outdoors
No matter the season, you will be packing clothing that can be layered on so that you can stay warm, cool or dry. The exact contents will vary from region to region, so this post will focus on the items you might pack for New England or the Canadian Maritimes. It’s All About The Layers…
-
Hiking The Flume Gorge At Franconia Notch State Park
On my latest road trip with “the boys”, it lead us along New Hampshire I-93 for Lincoln. Along the scenic drive we entered Franconia Notch State Park and noticed all the road signs for the attractions. I didn’t have anything planned, rather we were heading for Lincoln Woods trails. A last minute decision to take…
-
Hit The Trails This Weekend
What better way to celebrate Canada’s 150 Birthday, than to get outside and experience its vast, beautiful, and unique landscapes. From coast to coast Canada’s awe-inspiring trails offers escapes for day hikes to multi-day wilderness adventures. Whether you are a newly inspired beginner hiker or you’re a seasoned trekker, these are some great essentials…