-
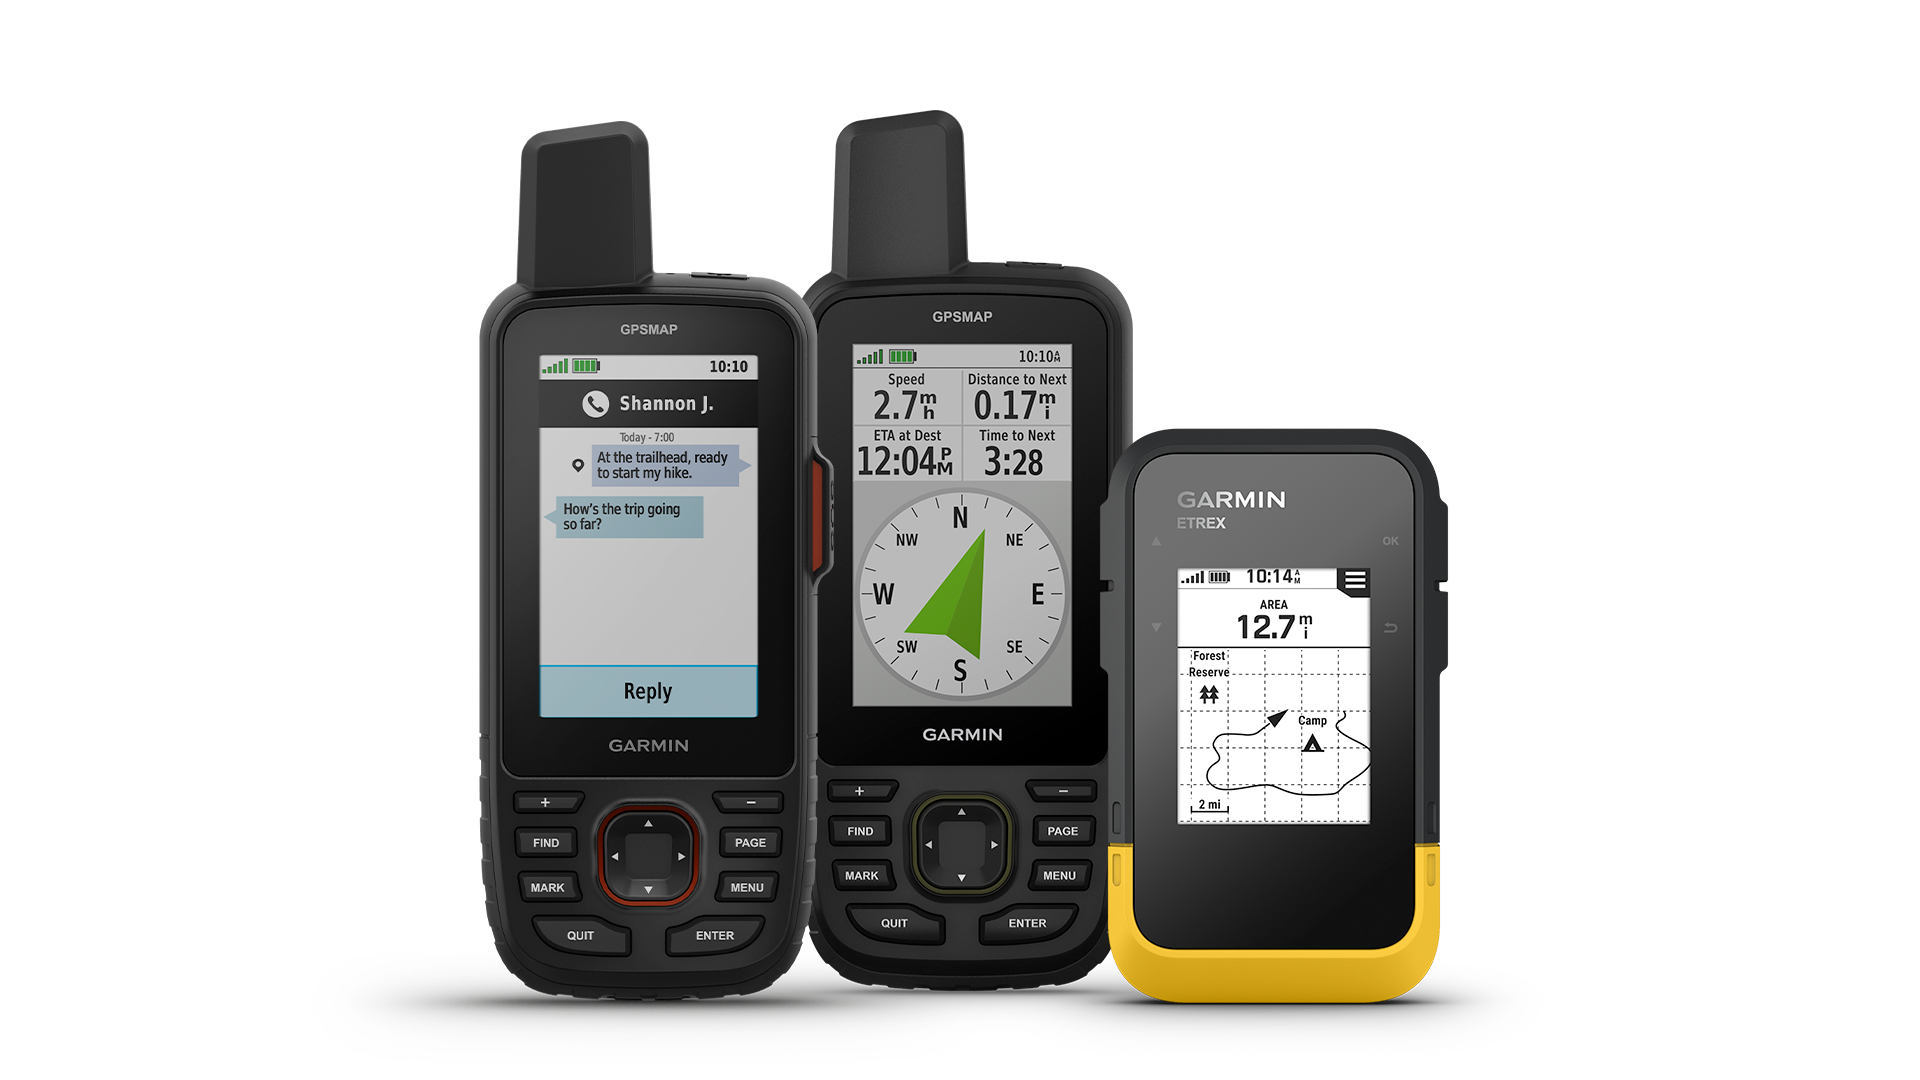
Garmin Announced New Handheld Devices: GPSMAP 67 and eTrex SE
This morning, Garmin announced the release of new handhelds in the GPSMAP and eTrex series. GSPMAP 67 The first updated handheld is the new GPSMAP 67 series GPS device. If you watched my GPSMAP 66 series playlist, you’d probably hear me complain about it despite being slow to handle the new radios and smartphone connected…
-
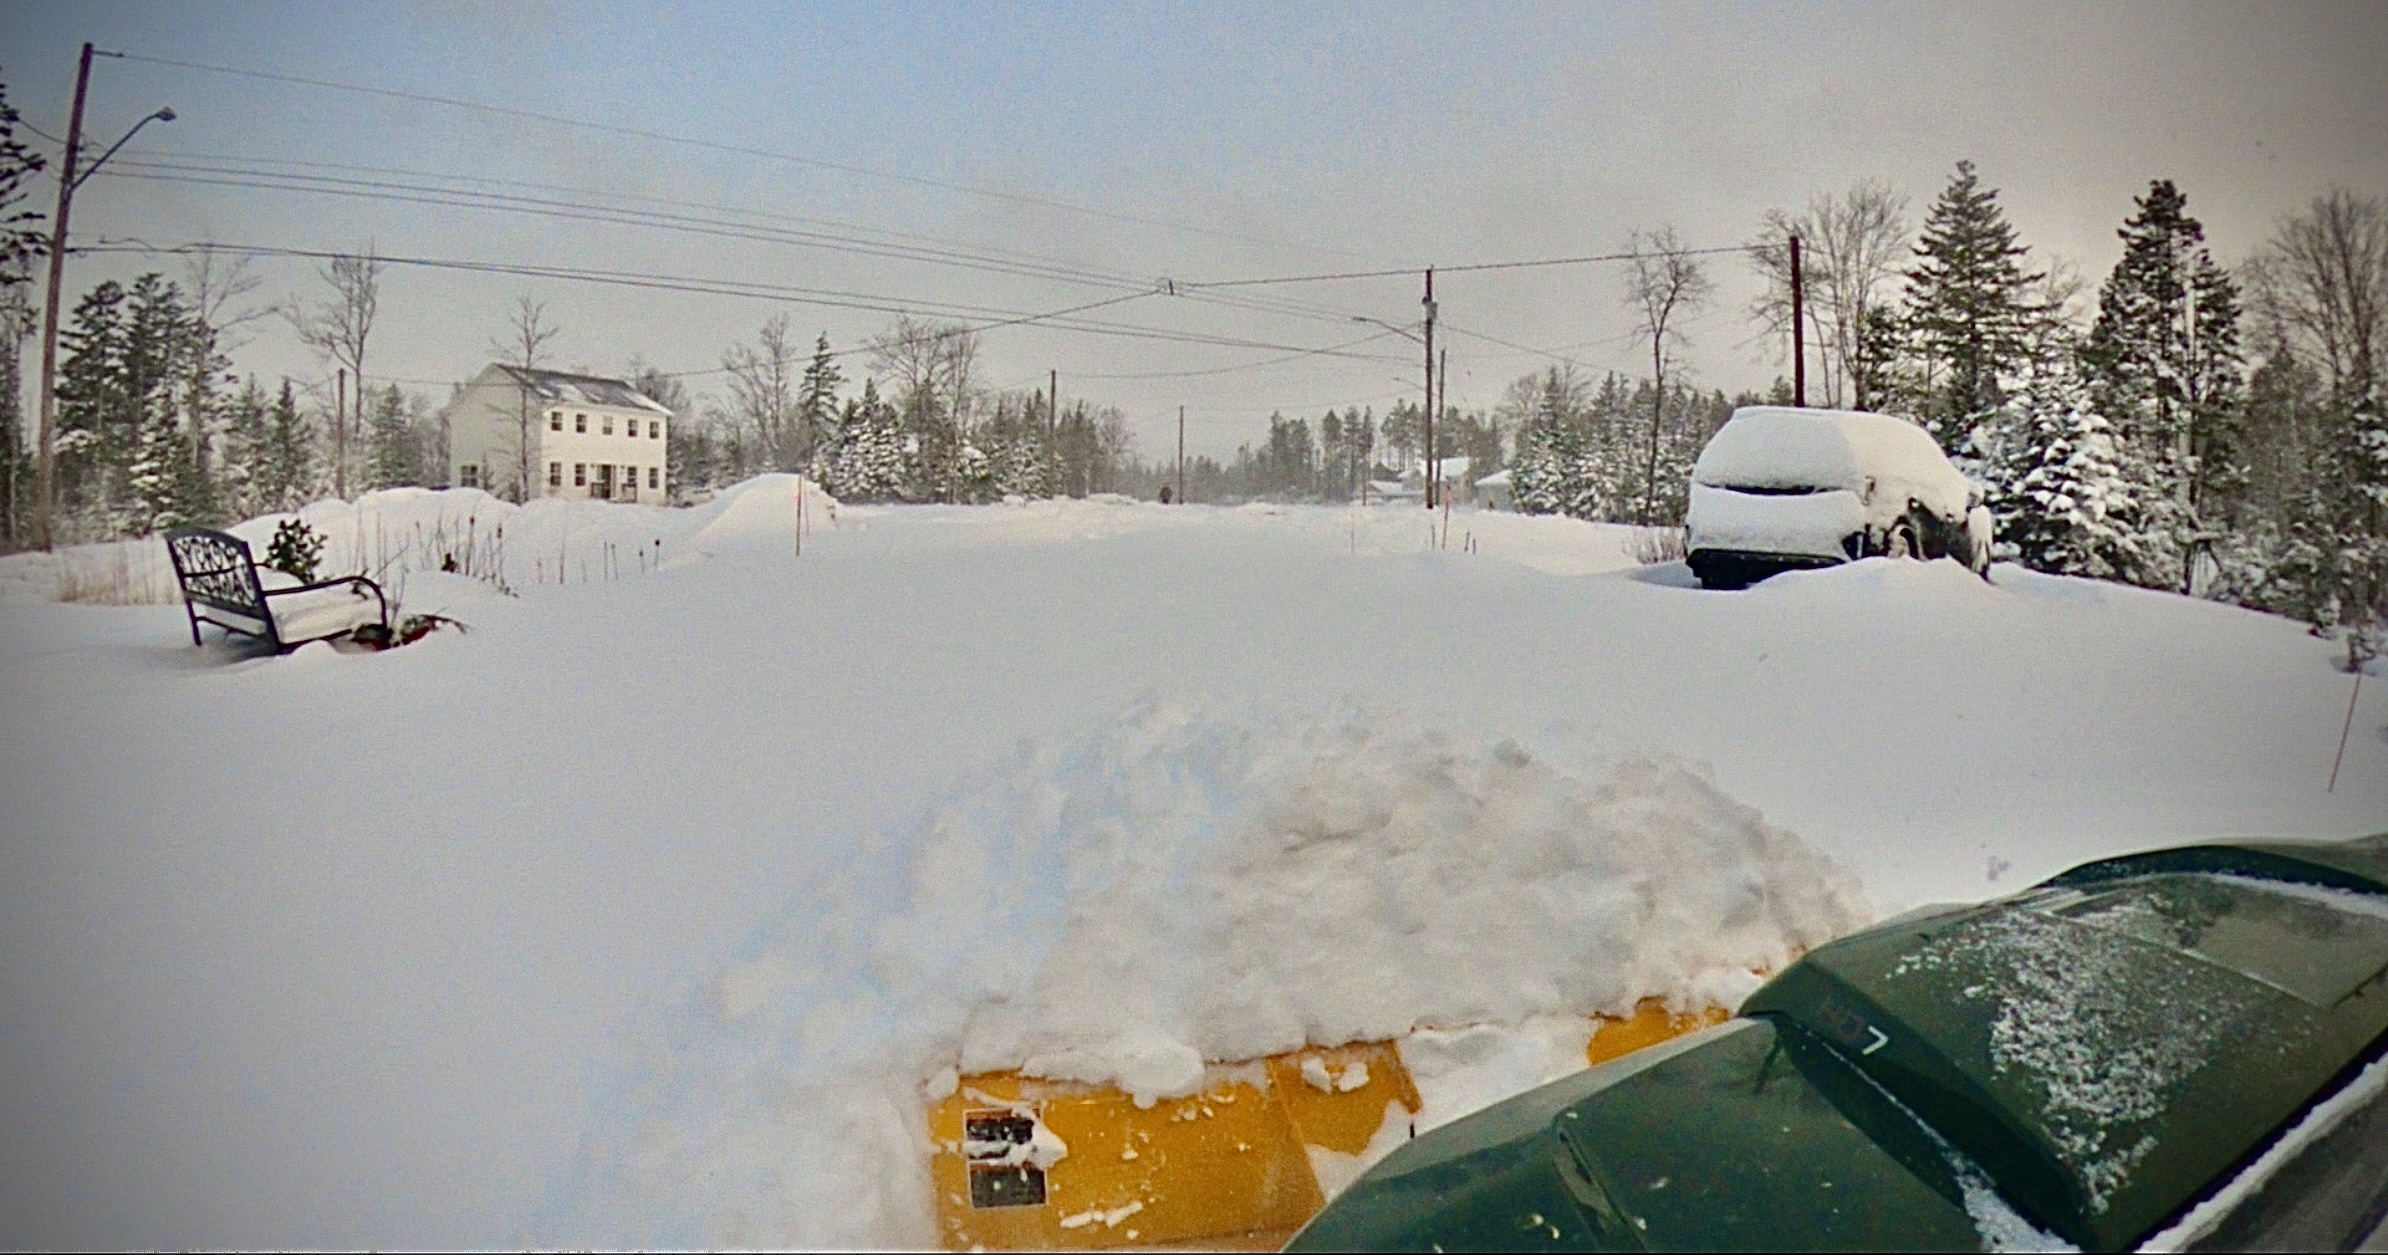
Can-Am Defender Snow Plow First Impressions And Planning Notes
A refreshed Can-Am Defender snow-plow post with practical ownership links and winter trip-planning reminders.
-
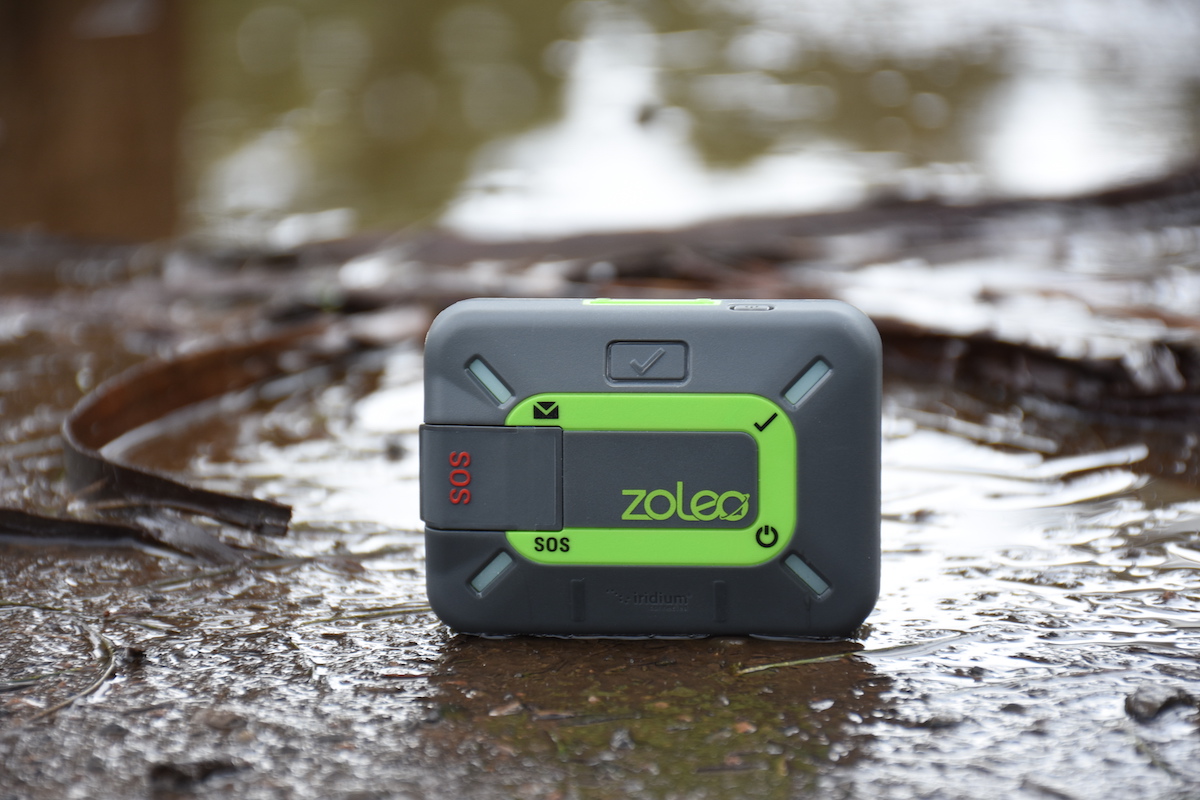
ZOLEO Inc. and Global Rescue Companies Partner Up – Ditches Garmin Owned GEOS(IERCC)
Introduction ZOLEO Inc. and Global Rescue Companies have partnered to provide a cutting-edge emergency communication and rescue service. Their innovative technology and expertise have resulted in an unparalleled system that enables individuals and organizations to communicate and receive emergency assistance from anywhere in the world. This article will delve into the unique features of the…
-
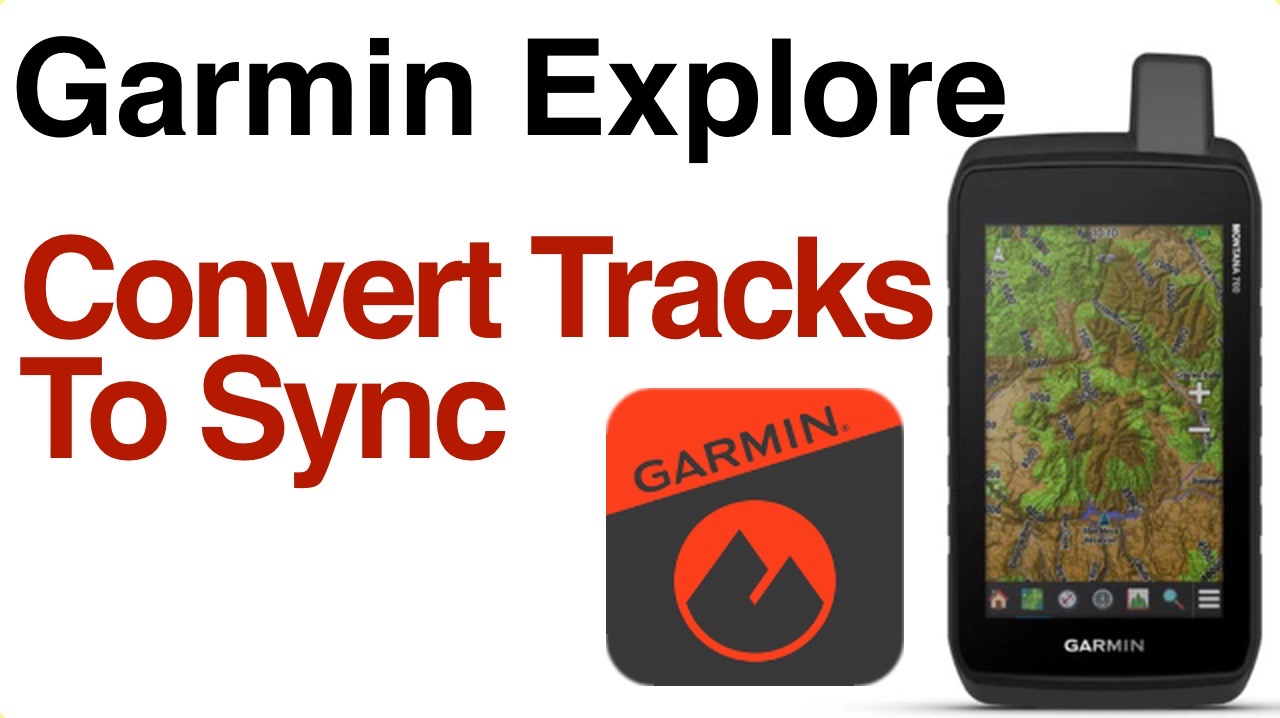
Garmin Explore Sync For inReach Users: Tracks, Routes And Trip Prep
A refreshed Garmin Explore sync guide for inReach users preparing tracks, routes, waypoints and offline trip information.
-
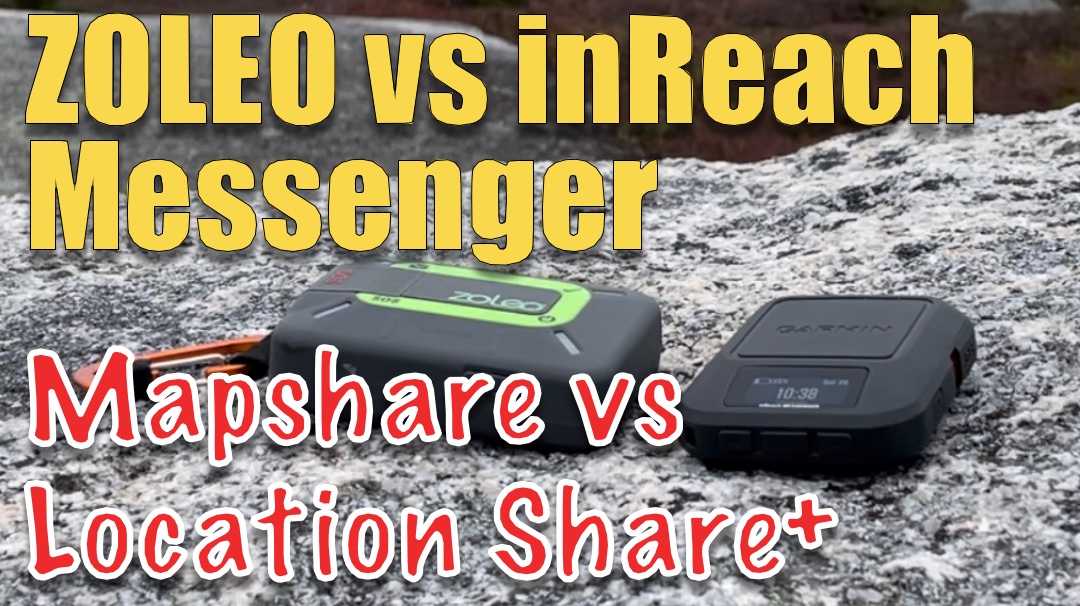
Garmin inReach vs ZOLEO Feature Comparison: Start Here
This older feature comparison now points to the current Garmin inReach vs ZOLEO pillar guide and focused tracking, messaging and subscription articles.
-
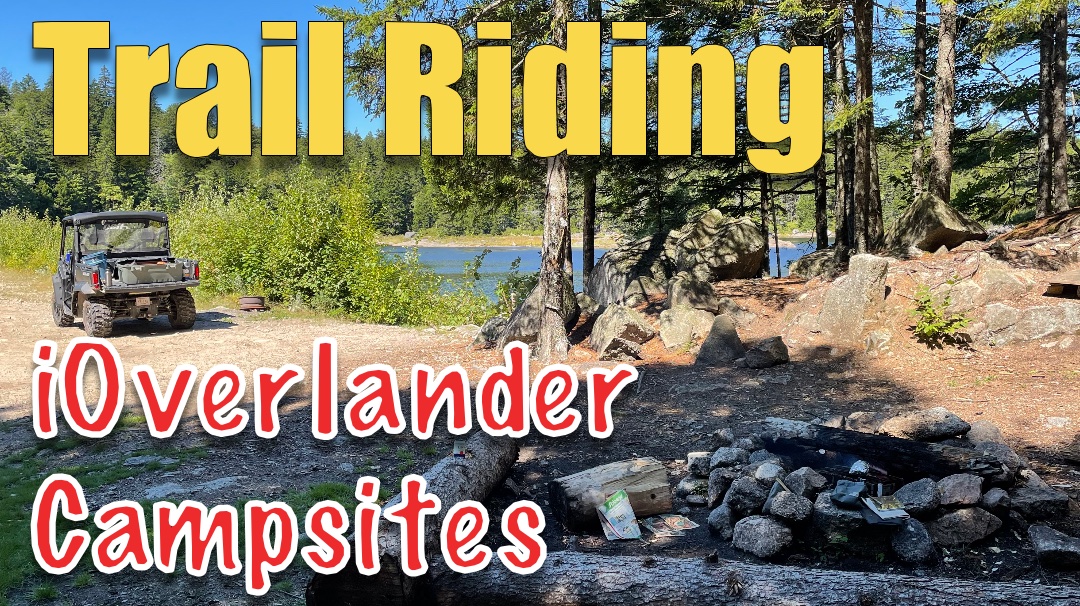
Two Days Riding Mersey Bowater: ATV Trip Planning Notes
Updated ATV route notes for Mersey Bowater area, with current access-verification reminders, trip-planning links and preserved original media.
-
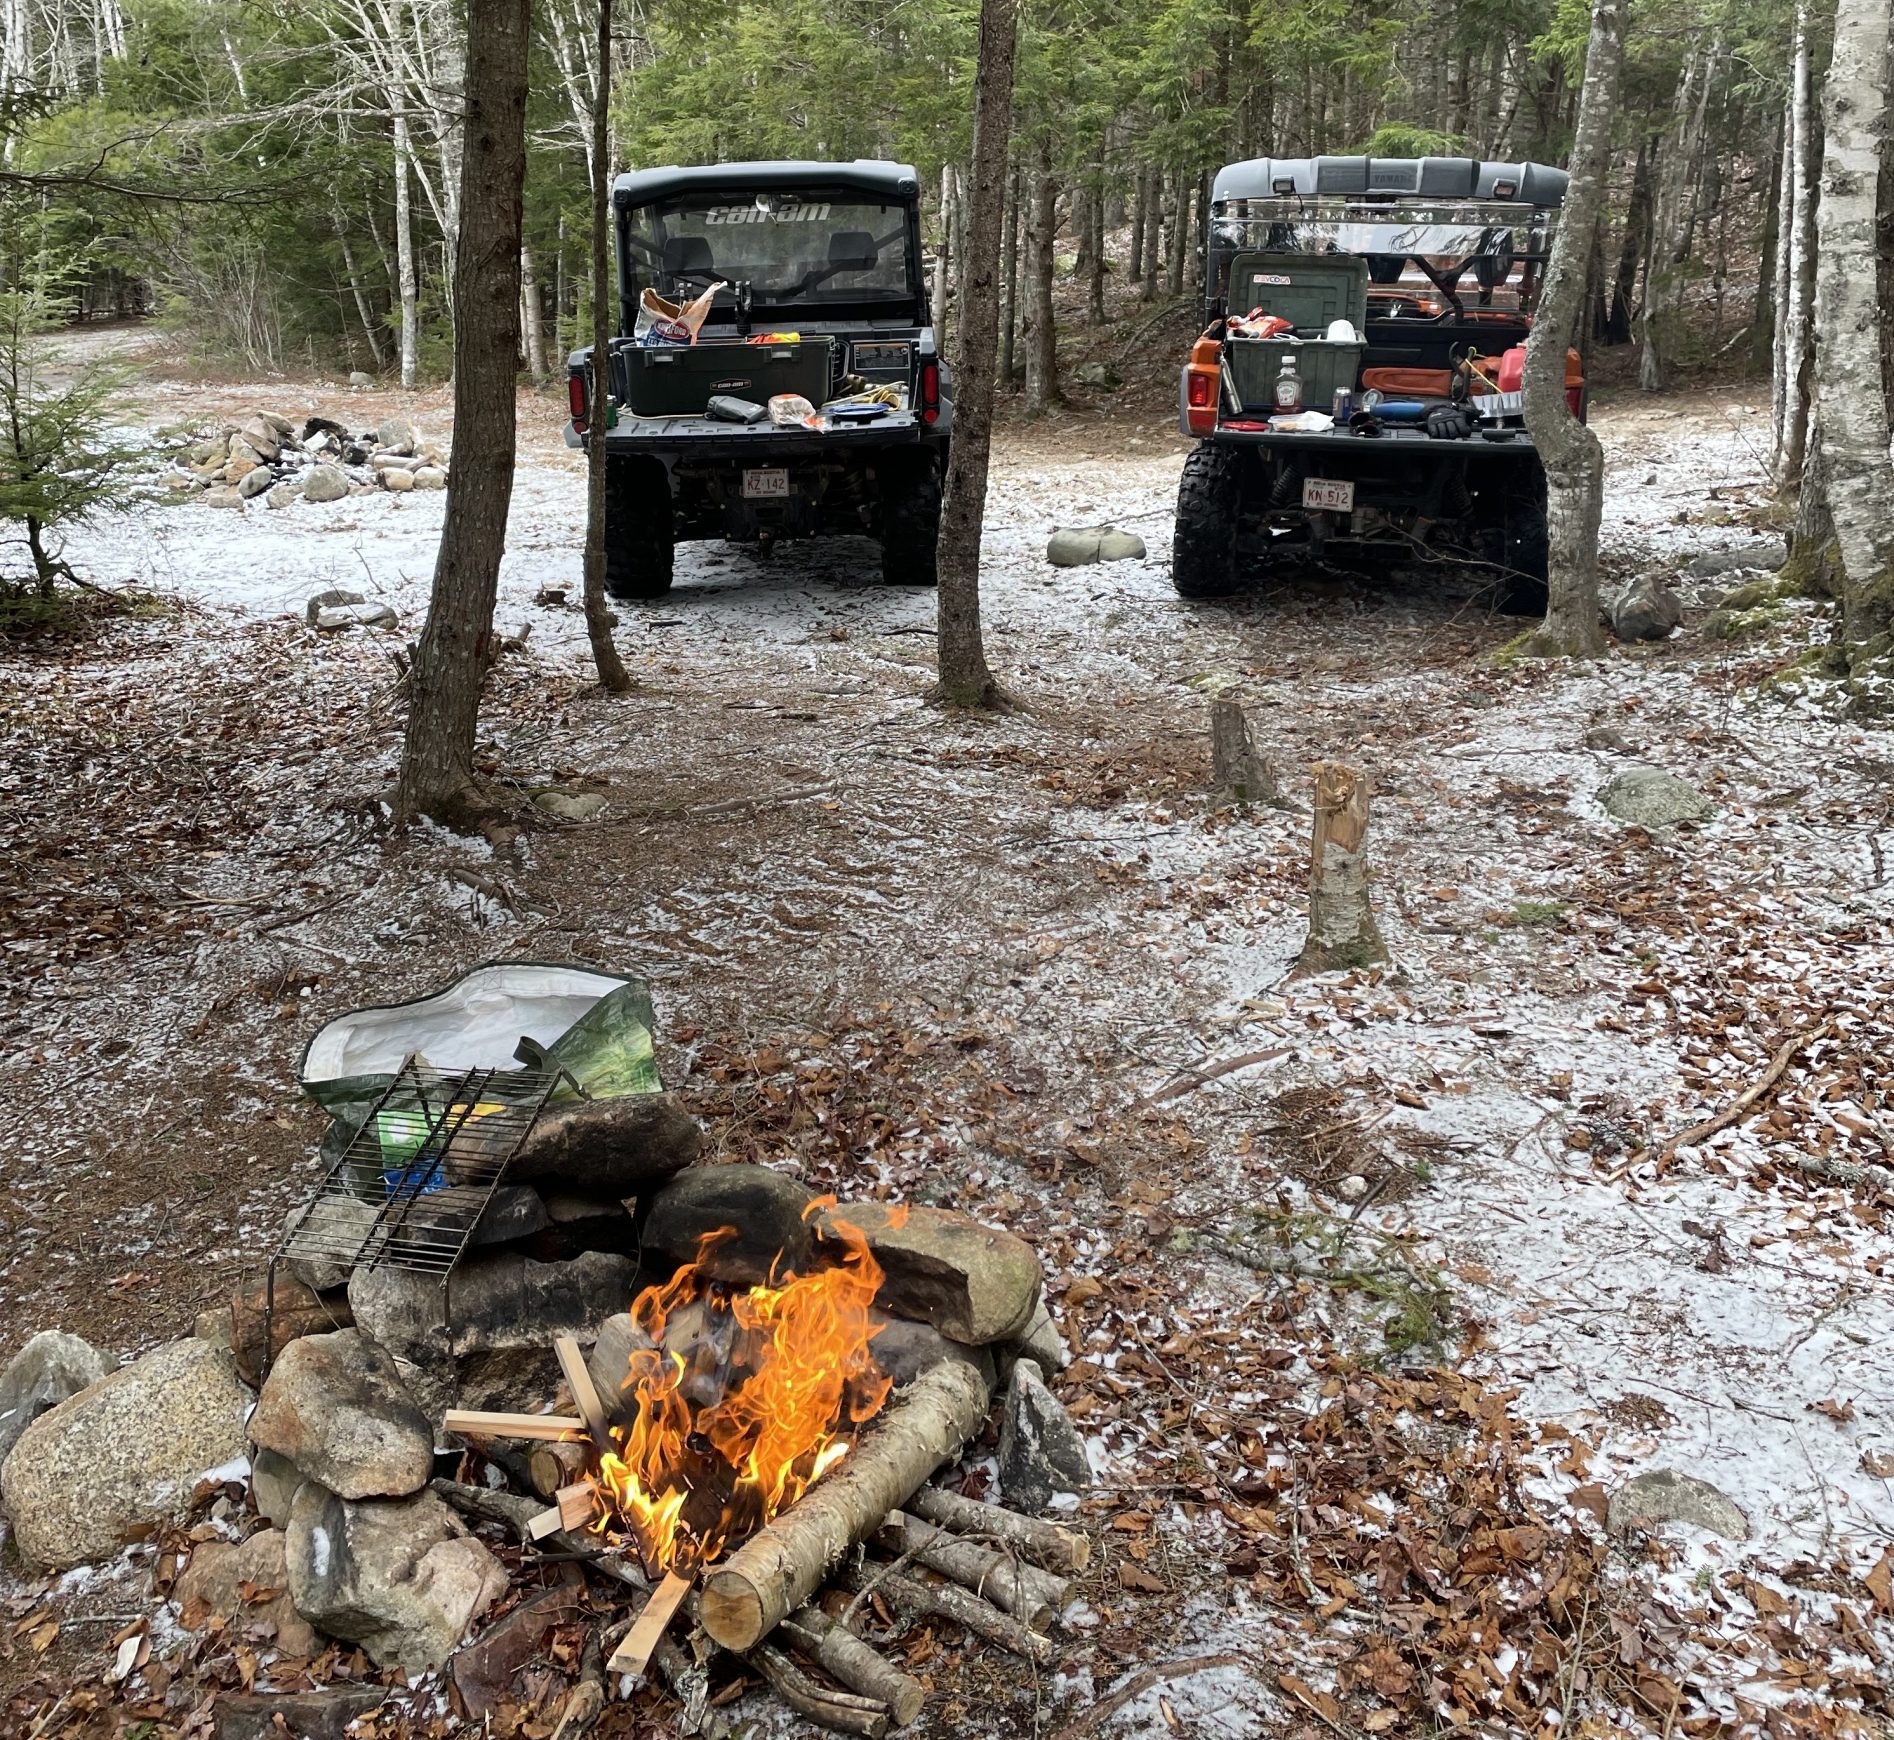
Finding Primitive Campsites While Riding A Can-Am Defender
A refreshed side-by-side camping post with route-planning, communication and access reminders for Atlantic Canada riders.
-
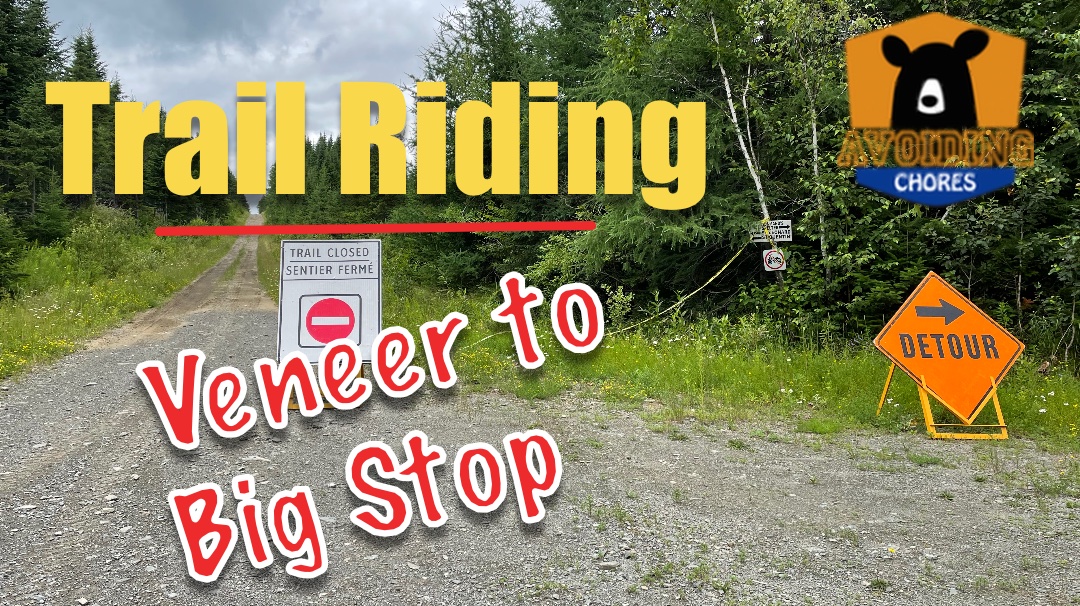
St-Leonard To Grand Falls ATV Ride: New Brunswick Planning Notes
Updated ATV route notes for St-Leonard to Grand Falls, New Brunswick, with current access-verification reminders, trip-planning links and preserved original media.
-
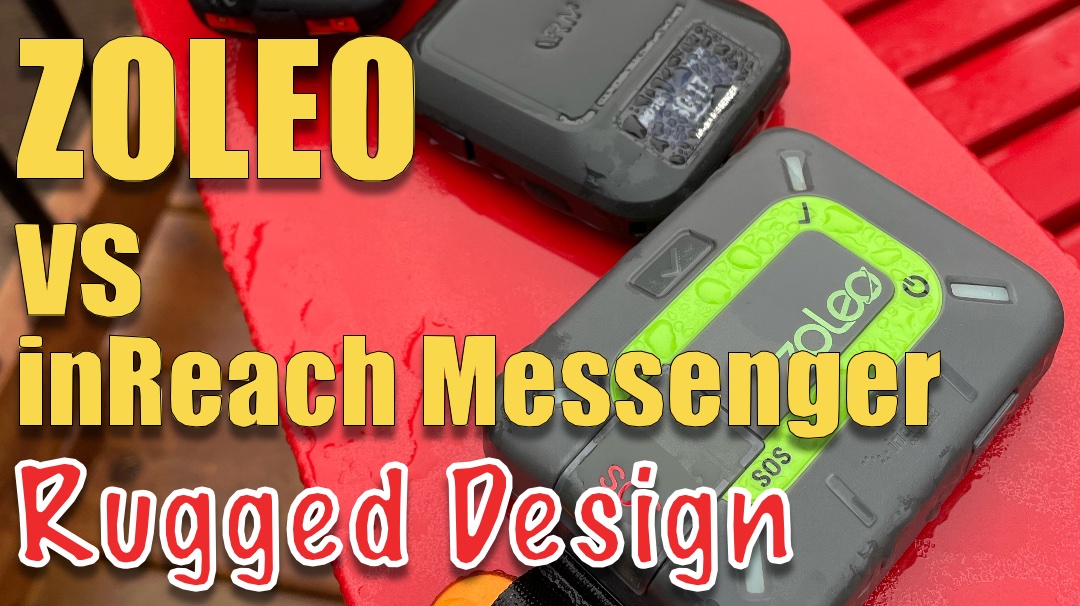
Design And Ruggedness Specs Breakdown – Garmin inReach Messenger vs ZOLEO
In our series of comparison posts between the ZOLEO satellite communicator and Garmin inReach Messenger, I’ll be going over some of the design and specification aspects that might interest you based on the outdoor activities you may be undertaking where having a satellite communicator is useful. Before we get going, I will acknowledge two points…
-
Sharing A ZOLEO Or Garmin inReach Messenger: What To Check First
Before sharing a ZOLEO or Garmin inReach Messenger, check the account, contacts, emergency details and message workflow.