Tag: outdoors
-
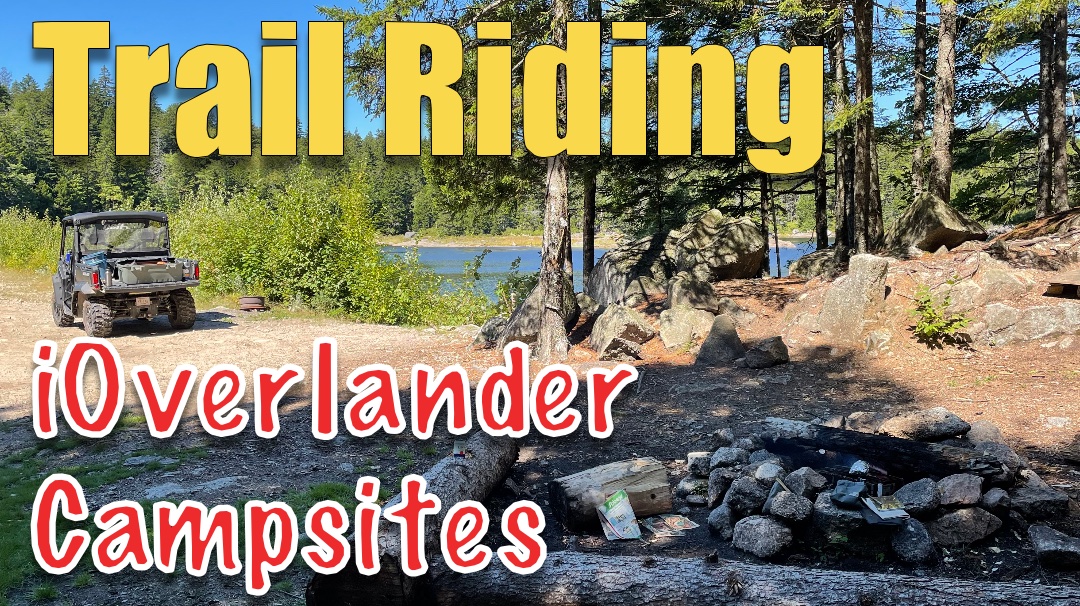
Finding Primitive Campsites While Riding A Can-Am Defender
A refreshed side-by-side camping post with route-planning, communication and access reminders for Atlantic Canada riders.
-
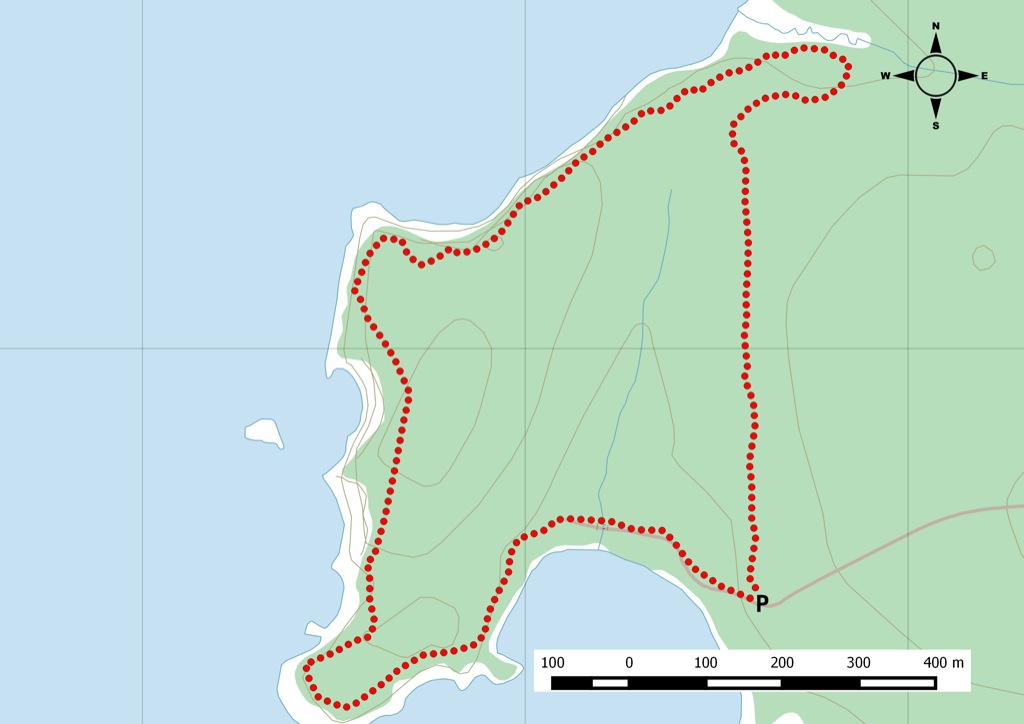
Wallace To Leicester Side-By-Side Ride: Access Notes
Updated ATV route notes for Wallace to Leicester, with current access-verification reminders, trip-planning links and preserved original media.
-
How Does Iridium Satellite Communications Work When Using the Garmin inReach and Zoleo for Communicating With Family and Friends
With the increase in popularity of outdoor activities, Garmin and Zoleo have made it easier to stay connected with friends and family. Satellite communication devices like the Garmin inReach mini and embedded products and Zoleo Satellite communicator can now send text messages, GPS locations, SOS alerts for emergencies, as well as tracking data from these…
-
Thomas’ Cove Coastal Preserve
From the Nova Scotia Hiking Trail Guide Guide category: Water Trails Length: 7 km (return) Difficulty: 2C Duration: 2.5 hours Book trailhead: N45 21.770 W63 54.925 TrailheadParking Two trails that offer great views of Five Islands and the Minas Basin. Thomas Cove Coastal Reserve is a coastal trail that looks out over Five Islands Provincial…
-
DECKED Storage System For Your Truck
I got the DECKED storage system for my F150 truck as a way to get some storage but keep my truck bed open and not install a tonneau cover or truck cab. The install process is identical to the videos you see from DECKED with a few exceptions for the F150 or Tacoma where the…
-
All-In-One Coffee Brewer Kit For Camping – Cafflano Klassic
I wasn’t feeling the love with the various outdoor systems out there and I wanted something nicer that would be more than just for backpacking. So I found this Cafflano Klassic all-in-one pour over coffee maker at my local hipster coffee shop, but your can find it also at large outdoor stores like Mountain Equipment…
-
How To Extend Range of DJI Tello With Wifi Repeater
The DJI tello is a great toy drone for 100$ which we’ve covered in previous posts here. But the main drawback I’ve experienced was the poor range and video streaming. If you are doing selfie shots, it works great but try to go beyond the 20 foot range and you get poor video and the…
-
The DJI Tello Drone With SDK Is Great For Young and Old Kids
I’ve always wanted to pick up a drone to take with me while out hiking and other outdoor activities, but I never did commit dropping essentially 1000$ for something that in the end was a pain to carry around. With no-fly zones popping up in both Canada and the US, why bother? Sure leading drone…